Fail It Yourself: Pineapple Shoes DIY That Turns Garbage… Into Garbage!

Believe me or not, but I wear 99% of my DIY clothes. It means that my DIY success rate is pretty high, but I still have some failures once in a while. In the sake of transparency I share with you each of my failed DIYs… and the DIY I will be talking about today is exactly this kind of project! A project that turns a garbage into better garbage!
But before you can proceed with the fun read, I need to make a small announcement. My DIY blog is going on vacation! During the whole summer I was tirelessly doing one DIY project after another, and now it’s time for me take a break. I need to look around and think: “Who am I? What am I doing on this planet Earth?” What else are people doing with their vacation, right? 😉 That said I am going to take a break for a month or so. I may still post a couple of posts during this time, though they won’t be DIYs (I think).
Ok! The announcement has been made! Now let’s see what was my inspiration for this DIY and how you can do turn your own garbage into better garbage.
Contents
My Pineapple Shoes DIY Inspiration
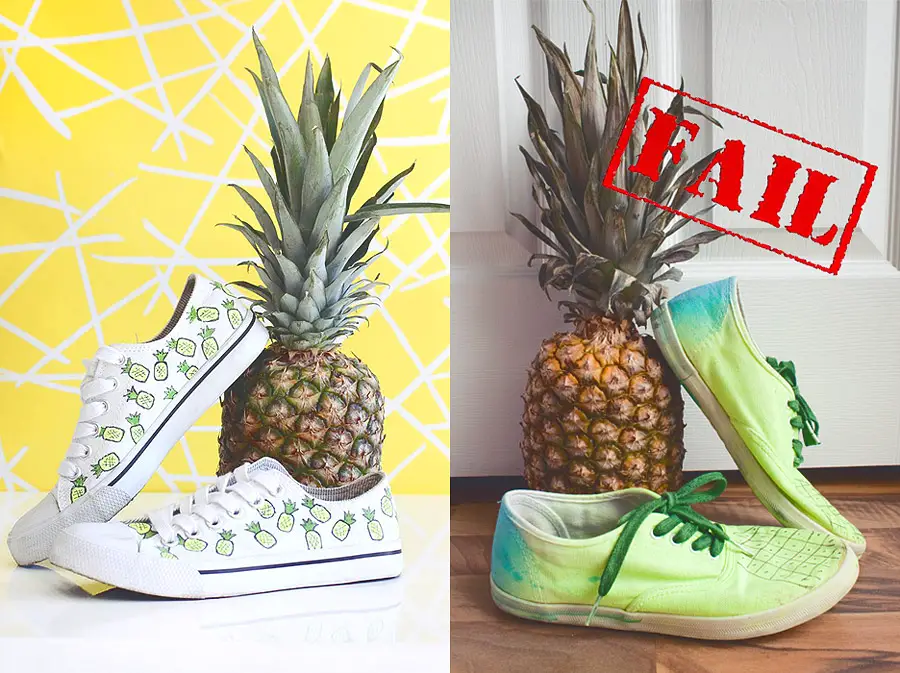
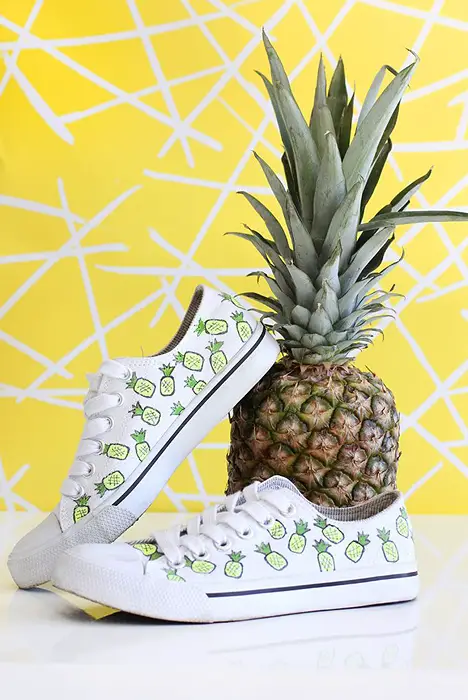
I was dreaming of having a I Spy DIY kind of DIY and even better (I am pretty much as skilled as Jenni, right?):
And that’s what I got! A DIY of a kindergarten grade! *face-palm* *face-palm* *face-palm*
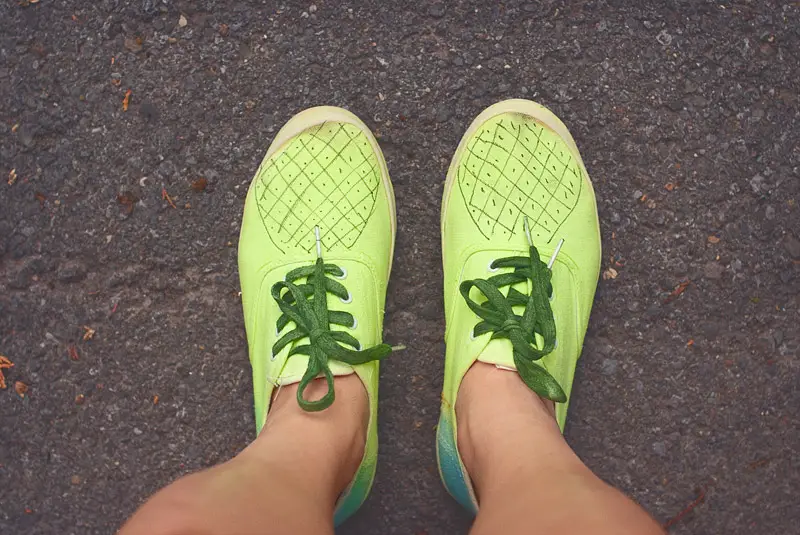
Turn Garbage Into… Garbage!
I have been obsessed with an idea of upcycling this pair of old stained white keds for a while. They have been in my closet for way too long, and their white color has been challenging me to do something bold with it. I love garbage, especially when it’s a garbage that can be re-used (or so I think). But when too much garbage is too much? I think with this project I have reached the limit!
In my last FIY I tried to cover stains on a sweater by tie-dying it, and that part worked just fine. This time.. it did not work at all! I think the paint made the stains even more visible. And of course no DIY could improve the worn-out shape of the shoes. Sometimes an item is just too old to be upcycled, and I should simply give up instead of wasting my time. But on the plus side it can help me to add one more post to my FIY collection 🙂
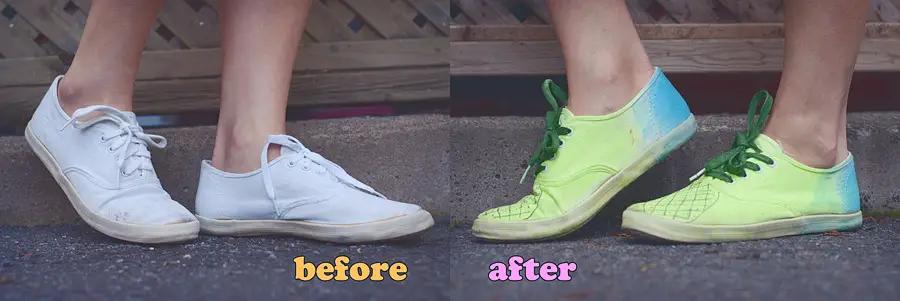
Fail It Yourself Using My Simple Instructions
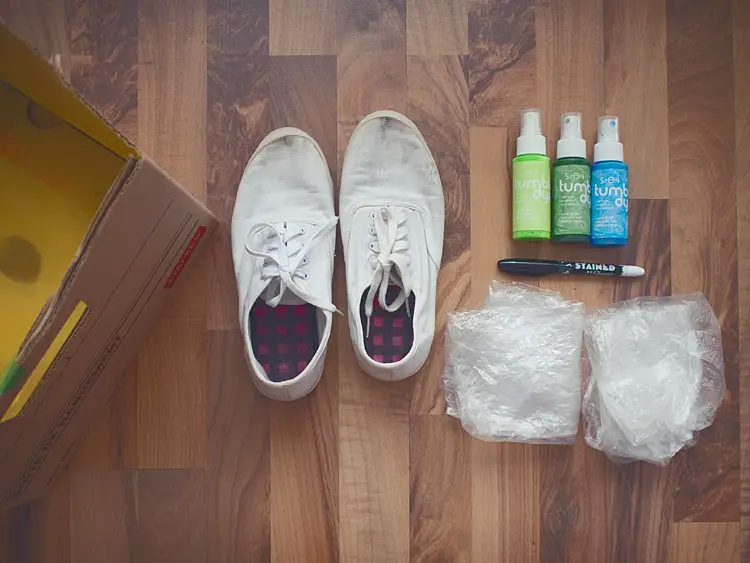
Here are the supplies I used for my FIY:
- old stained (but freshly washed!) shoes – an essential piece of the project;
- 3 tumble dry fabric paints: neon lemon, green, blue;
- a permanent fabric marker;
- two plastic bags;
- a big cardboard box to do spray painting without staining everything around.
Put the shoe laces inside the box. Sounds easy, right.
Now make a mess by sparying a half of the paint bottle on top of them! I bet the hardest job in this universe is to paint shoe laces with spray paint. Watch your index finger that you use to press the bottle button. You won’t probably be able to use it for a couple of days after doing your FIY. The chances are it may break during shoe lace painting, since the bottle button is not so easy to press! But believe me, this is a minor sacrifice comparing to the outcome you will get: Custom hand painted shoe laces. The most precious thing in the world.
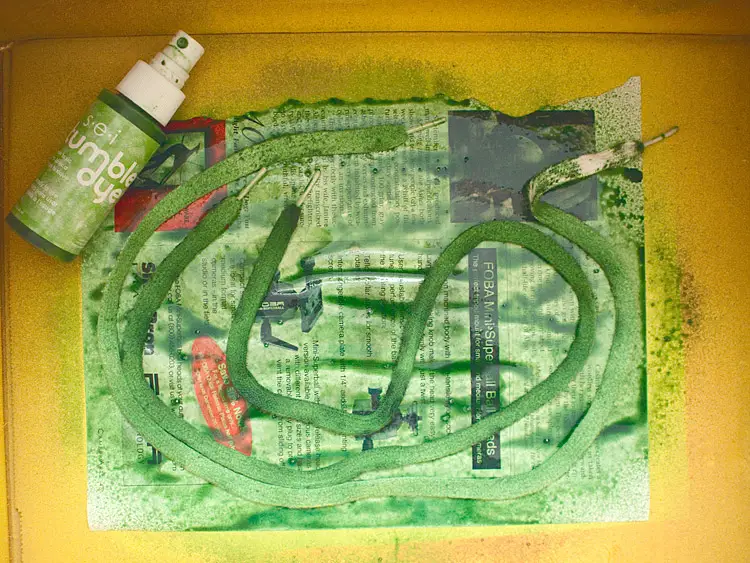
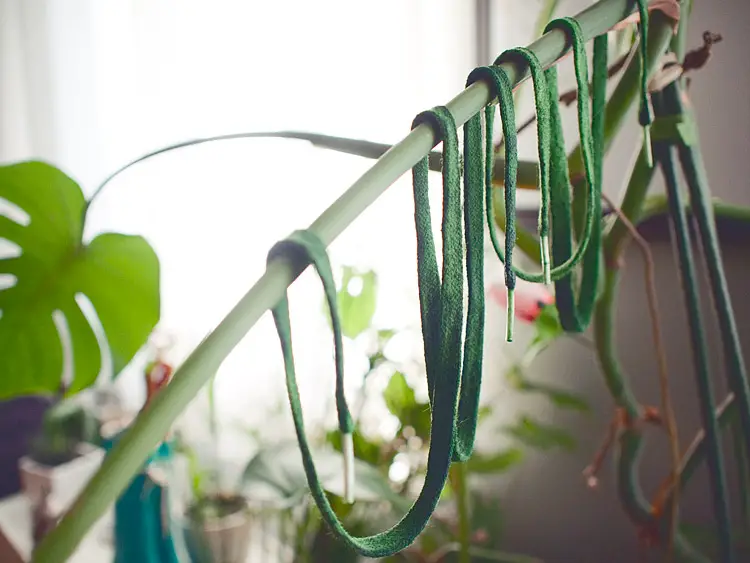
After the shoe laces got properly soaked in the paint, it is time to dry them. If you have house plants, you are lucky – just hang them on the branches. Like I did. They will blend seamlessly into your interior design. This is important, because it will take the shoe laces about an infinite amount of time to dry. Ok, just kidding! Give it a fair 5-6 hours.
If you do not have house plants… well, you shouldn’t have started doing this FIY! Sorry, did not warn you in advance.
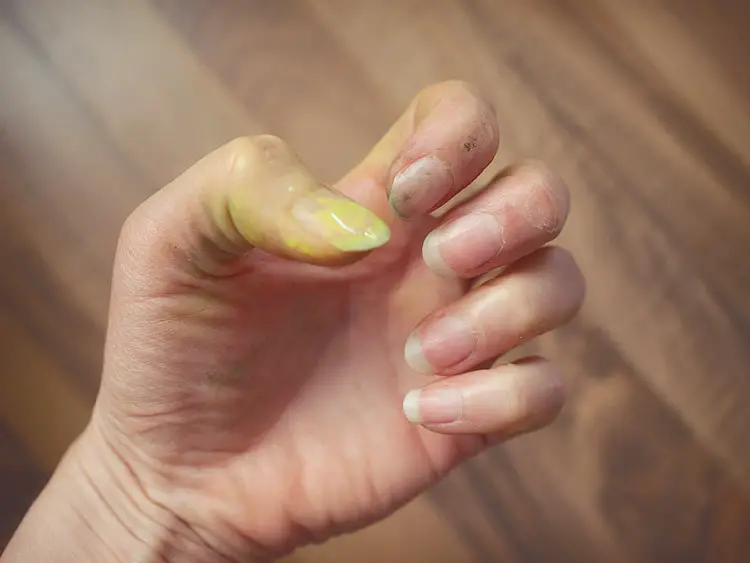
Now paint your left hand with the neon yellow paint… Oh wait! No. It will get painted on its own when you will be painting the shoes. Doing spray-painting in a box is not so easy. You have to sacrifice your left hand to hold the shoes while trying to paint them from different angles.
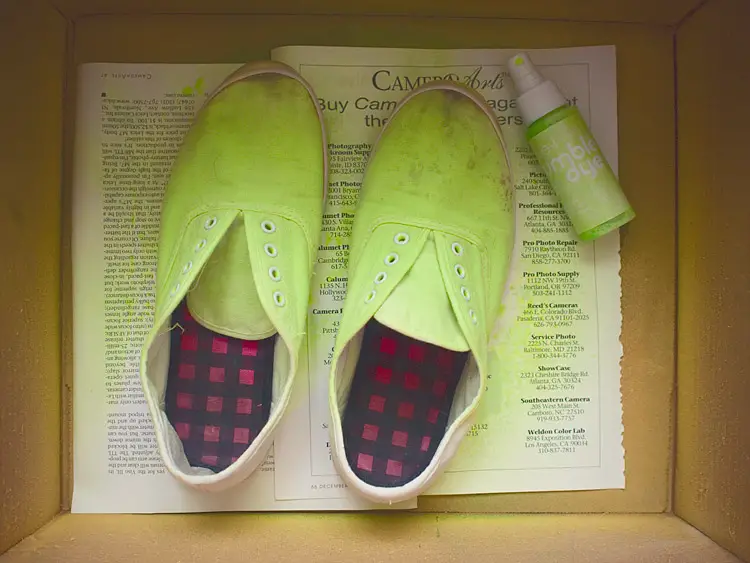
Ok, the front part of the shoes is now painted. You are worrying about the stains? Haha! Don’t worry about your precious stains. They are not going away: the paint made them even more visible.
Now wash your hands, take the blue paint and paint your left hand again. As you can see, after a bit of practice (during the previous step) the hand got painted much better.
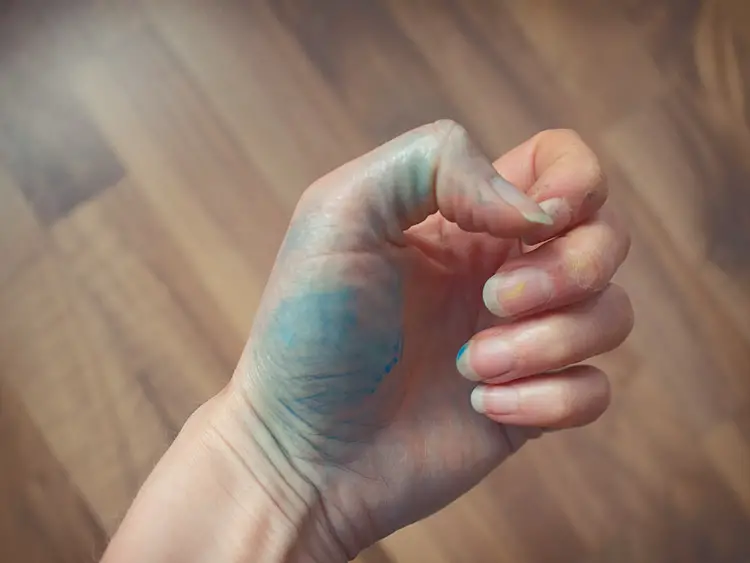
While painting your left hand, you may also want to paint the back parts of the shoes.
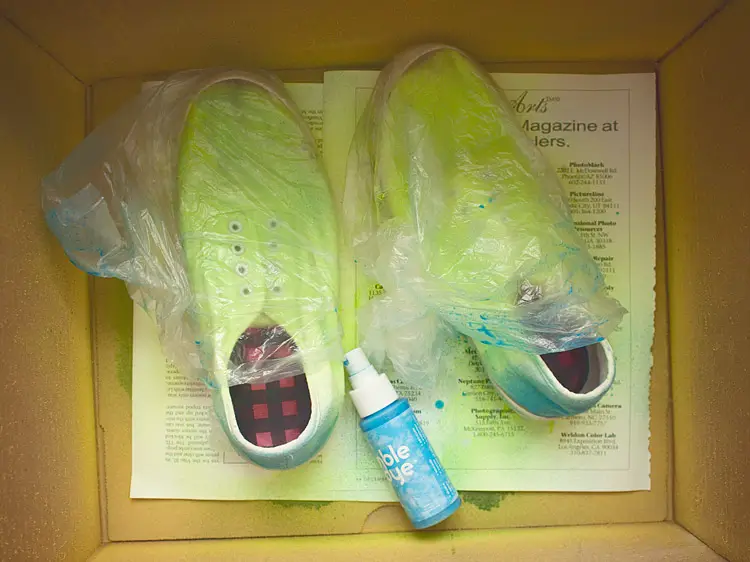
After the shoes get dry (wait for yet another infinite amount of time) follow the paint instructions and fix it in the dryer. Easy and boring step.
Now using a permanent marker draw a round net with dots in the cells on the top of the shoes. Do not worry about your precious stains: They will stay visible!
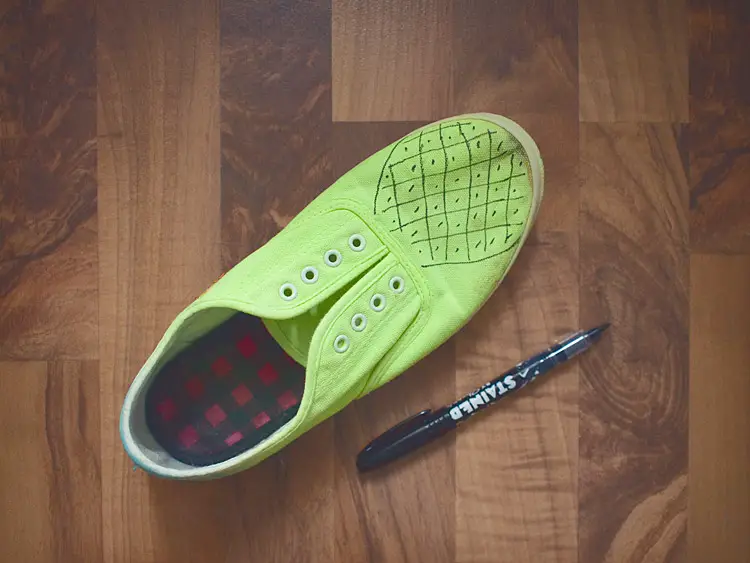
The shoes with the “leaves”. If you squint your eyes, you can kinda see some kind of pineapple…
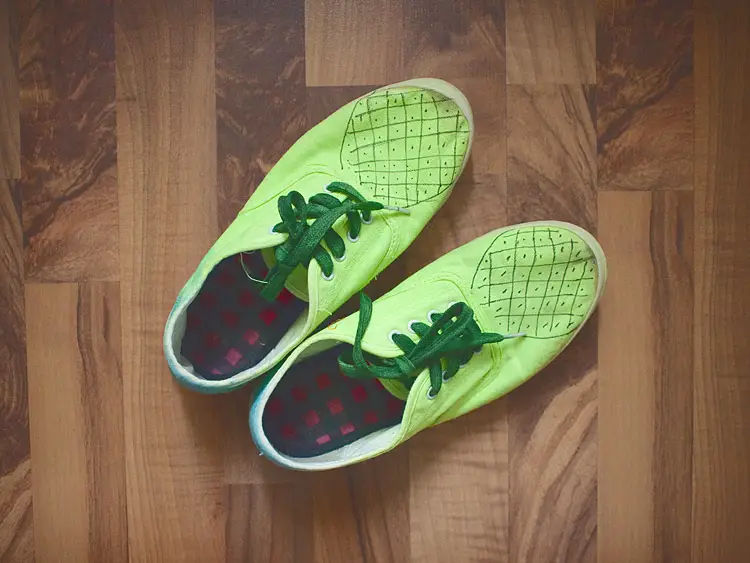
Ready for the final step?
The Final Step Of Pineapple Shoes FIY
Now… throw it away!
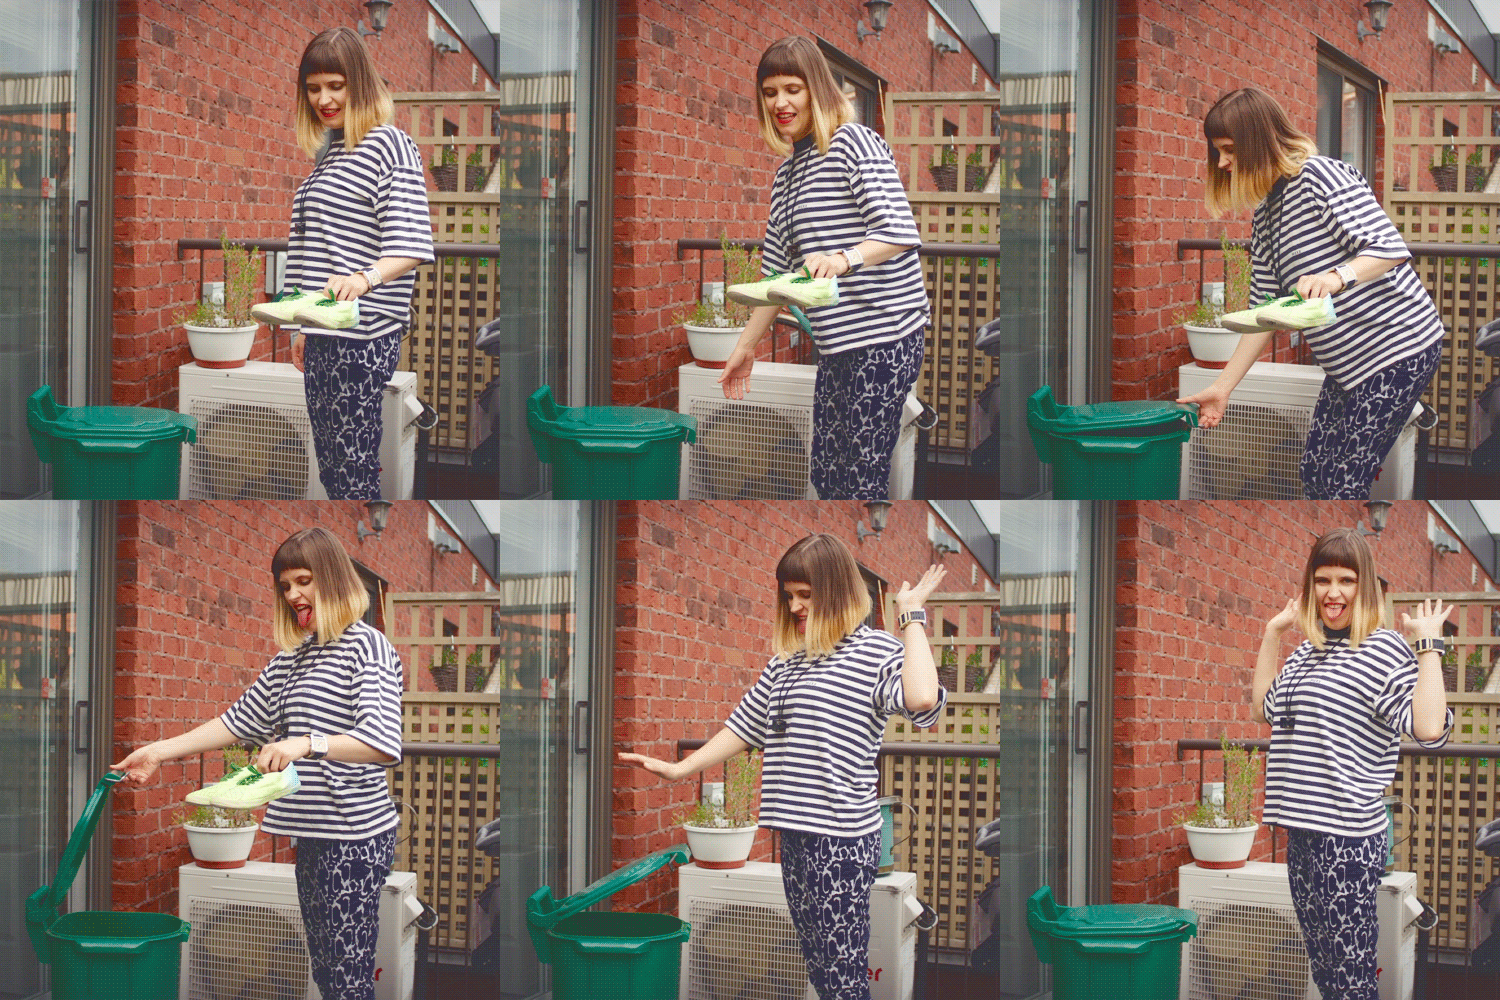
Epiс Fail! Happy FIY-ing!
Disclaimer: Yup, this post may contain affiliate links! If you buy something from me, I get some margarita money (not enough to buy a pair of shoes). Read more here.







Spray shout on stains, scrub if necessary. Wash canvas Keds in washing machine using hot water. Air dry shoes. Apply white shoe polish to canvas uppers, let dry.
after buying new white canvas shoes, spray with soil repellent spray (Scotchguard), this extends the life of your shoes.
Oooooooh i so missed this!! Now that i’m finally trying to recover from acute procrastination, i’m here! And of course i had a good laugh! You’re as funny as ever and it’s always a lot of fun to read your posts!
When will you come back? 😀
Hey Andreea, glad to see you back 🙂 Hope you had a great vacation!
I think it will take me about a month to get back 🙂
I did have a great vacation, but it was waaay too short! Oh well… i’m still not quite completely, totally, 100% over the summer vacation mood, but slowly getting there. 🙂
Have fun!
happy for you 🙂
This looks so fun!
Alexandra ~ ArtMandy
Thanks, Alexandra!
Wow, you are SO creative. I don’t think I could ever do anything like this hah. Brilliant post!
http://www.musingsandmore.co.uk
aww, thanks, Emily! You are too kind 🙂
This post made me laugh out loud. I love this! Fail it yourself! I’ve seen a lot of cool DIYs, some even by you, but this is totally entertaining and I loved every bit of it! Thanks for sharing!
This made me laugh so hard I want to cry! Ahhh thank you. This post was nothing but a treat to read. Every DIYer has their own collection of FIYs and I’m glad you shared yours.
http://www.annescribblesanddoodles.blogspot.com
Anne, thanks so much for your comment 🙂 Being transparent about my projects is one of my things. Plus I also like to laugh and to make others laugh 🙂 it is a big motivation for me to read amazing comments like yours 🙂
кстати, если бы не рисунок маркером – были бы ничё так 😉 по крайней мере лУчше, чем были в самом начале ))
идея была закрасить пятна. Не вышло
Nadya Ershova понятно 🙂
This made me chuckle!
hehe I am glad 🙂