No Bra Crop Top DIY: How a Tiny But Stretchy Tee Grew Into a Full-Fledged Crop Top
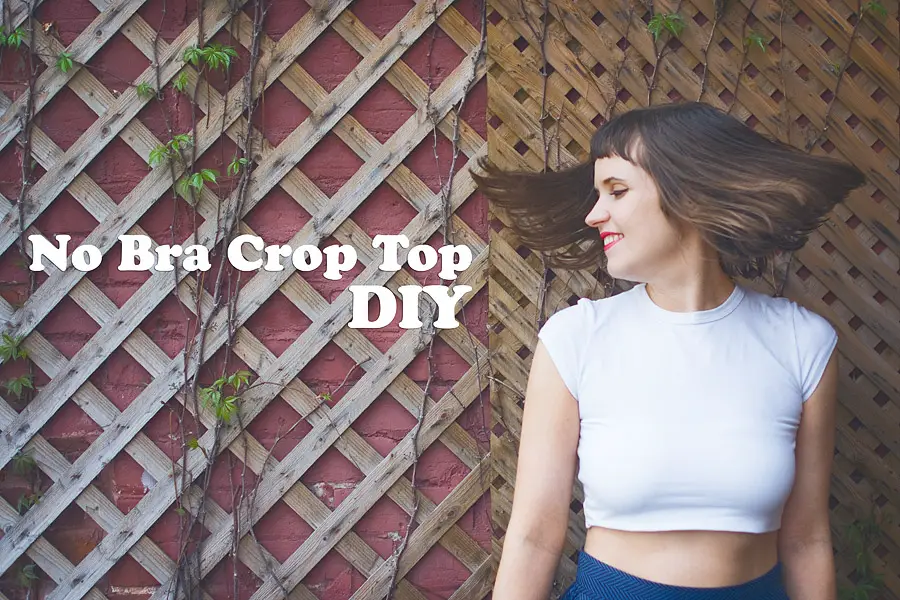
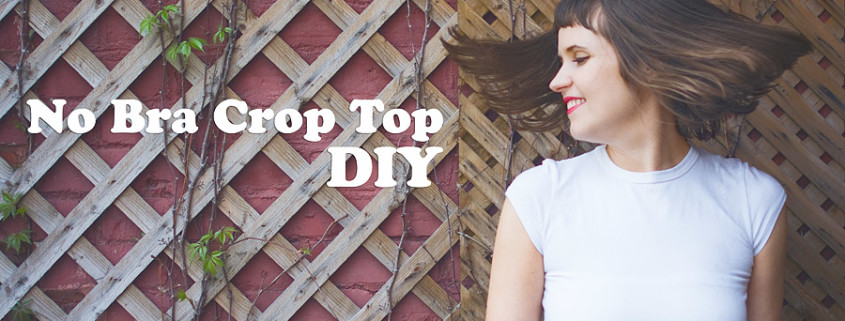
As you may have guessed already from my previous post about crop tops, the DIY of this week is about a white crop top. In this post I will tell you a story about how a tiny but stretchy tee grew into a full-fledged mature crop top, which I wear without bra.
Contents
The Story Of The Tee And Why No Bra
The tee was given to me by a friend of mine who was doing a spring cleaning quite a while ago. Since then the tee stayed abandoned on the top shelve of my wardrobe until recently when I did my winterish-springish-summerish cleaning (I am not super keen on cleaning activities). Despite an XL label attached to it, the tee looked very small. Like a baby tee. Maybe it was a baby XL? Hmm. But on the plus side it was also very stretchy, so I managed to pull it on. On the minus side after accomplishing this challenge I discovered two thing. First, it fit so tightly that the others could see every bump on my skin and every seam of my underwear. Second, the white stretchy fabric tends to become transparent if pulled, and so did the stupid top. On the plus side, it looked sexy (and my boyfriend loved it!), but on the minus side I really do not want to let non-boyfriends admire the details of my underwear… or lack thereof. I had to do something about it! And I did.
I got with the following idea: What if the front part is doubled with something? Even better: How about folding the bottom over the top? In this case it would become even more sexy… in the area which is allowed to be sexy (my belly 😉 ).
So yes, why not just fold it up and attach the folded part on the sides? This way the front part will not be transparent anymore. On the other side I would still have to wear it without a bra, because the bra details would still pop out due to the stretchiness of the top. How about my nipples? Nope, they would not pop out – I tested, see below for the proof!
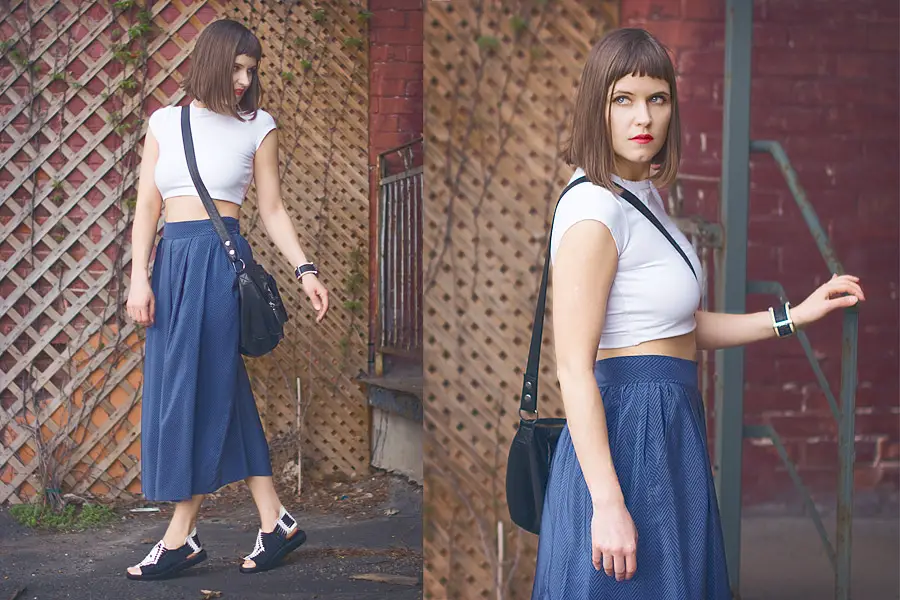
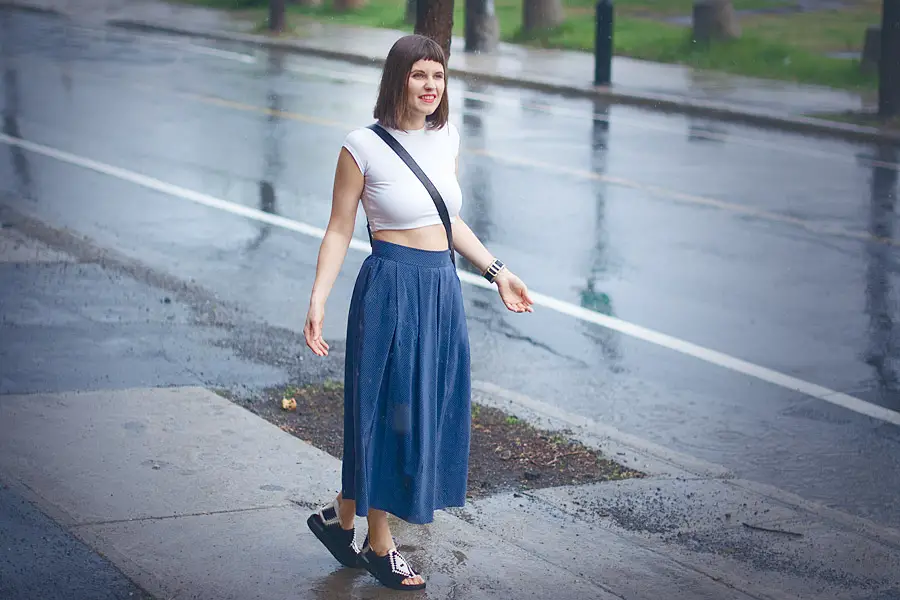
Yep, before it was a tiny extra stretchy tee. Now it is a mature trendy crop top! 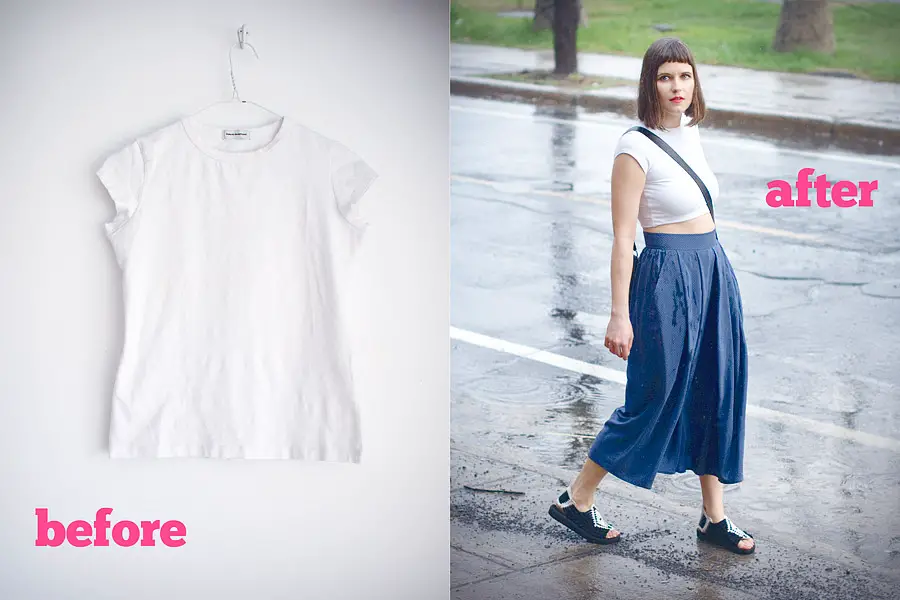
How To Get The Look
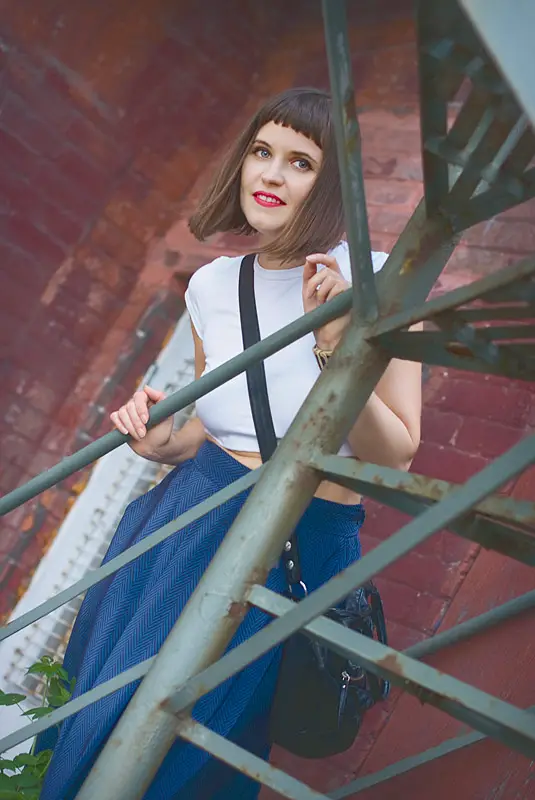
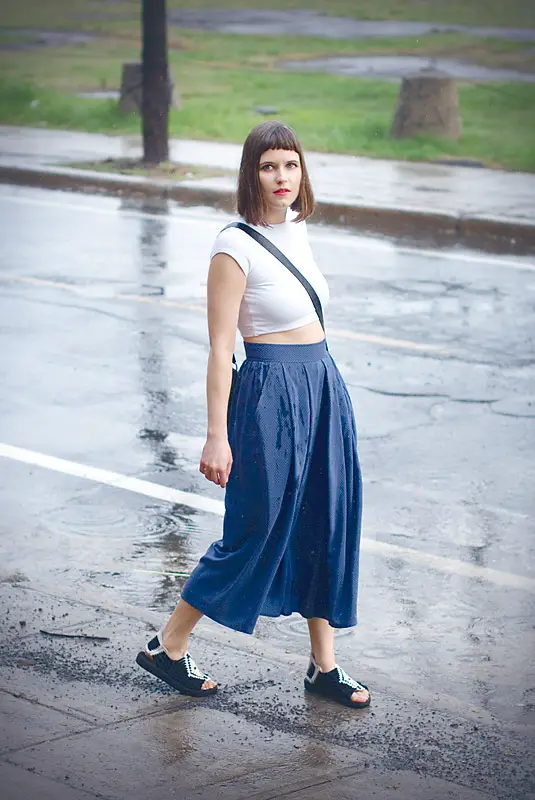
- white crop top: upcycled second hand
- silk skirt: vintage
- back and white woven sandals: Ter Et Bantine (size 7, size 10)
- cross shoulder bag: second hand H&M
New DIY Steps Format
In this DIY post I decided to try a different images format for the steps. Instead of publishing one step picture after another with a bit of text in between, I combined all images together in one giant picture.
Why I did it?
First of all, it is now easier to follow the steps. All the steps are conveniently collected in one place, and you can see what to do from the beginning to the end to the results with a single glance.
Second of all, it is now easier to share and spot on social medias. I did a research on what DIY pictures are shared the most, and – surprise-surprise! – they were the ones where all the steps were shown on one single image. It means that you my dear DYI-ers clearly prefer this format over the single picture ones. Plus, a picture presented in this form will grab more space on Pinterest and thus will become more noticeable and shareable 😉
And third and last of all, I personally like this format much better! It looks so structured! And now I do not need to think anymore which picture from a DIY post to share. I will simply grab this one 🙂
And of course I have added the text description of the steps. Find them right after the giant picture.
Tell me what you think about this new format in the comments!
From Tee To Crop Top DIY Steps
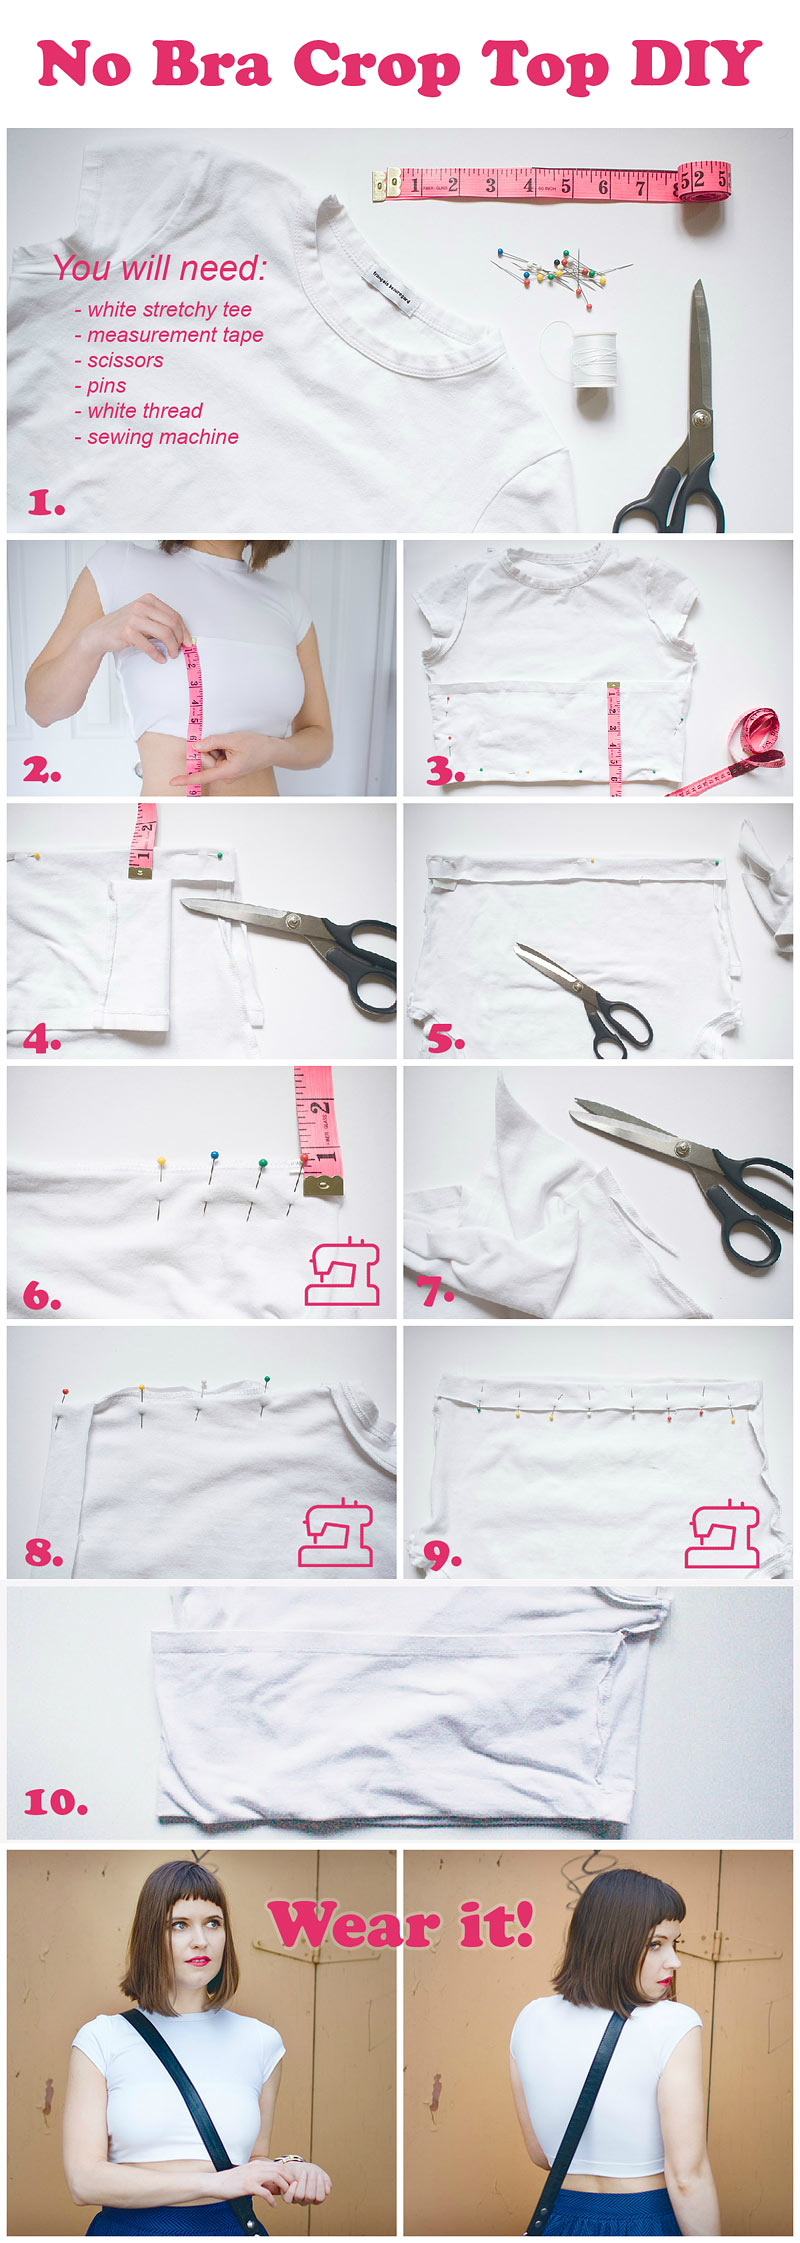
No Bra Crop Top DIY supplies and instructions
Here are the instructions how to make a no bra crop top:
- For this DIY you will need:
- white stretchy tee
- measurement tape
- scissors
- pins
- white thread
- sewing machine (not pictured)
- Put on the tee and measure how much you want to fold up.
The fold should be big enough to cover the boobies, but at the same time it should not be too short. - Take off the tee and turn it outside in.
Fold the bottom part according to your measurements and secure the fold with pins. - The idea is to keep the front part folded (to make it opaque) and remove the back part where we are not concerned about the transparency.
- That’s how the sides and the back part looks after we removed the excessive fabric.
- In order to make the bottom line of the top stay closer to the body, we need to take it in at the waist.
Take in 3/4′ at the bottom line and gradually reduce it while going up to the arm pit. - Cut off the excessive fabric after taking in.
- Sew the sides of the front folded part to the side seam allowances.
- Hem up the back part.
- That’s what you should get in the end. This is a side of the finished top turned inside out.
The front part is now doubled by the folded part.
Newbie Tip: How To Sew Stretch Fabric On Sewing Machine
When you sew a stretch fabric on a sewing machine you cannot use a regular strait stitch. The stitch has to stretch along with the fabric, otherwise it will tear when the fabric stretches. The best way to sew stretch fabric is to use an overlocker or serger, a special sewing machine that makes a special over-edge seam. This seam is very stretchy and perfect for elastic fabric. This is a kind of machine that is used in the industrial clothing manufacturing.
However, not everybody has such a machine at home.
With a regular sewing machine the easiest way to achieve a stretchy seam is to use a narrowed zigzag stitch. I usually use a stitch with a 3.5 mm step and 2.5 mm zigzag.
Zigzag stitches from leafytreetopspot.blogspot.ca http://leafytreetopspot.blogspot.ca/2012/07/technique-tuesday-zig-zag-stitching.html
Happy DIY-ing!

Disclaimer: Yup, this post may contain affiliate links! If you buy something from me, I get some margarita money (not enough to buy a pair of shoes). Read more here.





I love the new DIY step format! I was actually thinking of thrifting a bunch of shirts and turn them into crop top! you red my mind! hahahah HUGS
http://lauest.com
hehehe I am glad I can read your mind :))) from my point of view it is one of the easiest yet most impressive DIYs.
Glad you liked the new step format, will continue doing it.
what an interesting and useful idea! I might just try this one out myself. xx
afashionneverland.blogspot.com
Thanks Caroline! You should so try it, it is very simple 🙂
Good job with this crop top c: You look really fresh and
gorgeous! Xx http://icepandora.blogspot.com
Thanks for dropping by and leaving such a wonderful comment!
Omg I love what you have done with that simple white top. The diy crop top looks super stylish now and I love the way you paired it. Sadly I can’t sew even if my life depended on it. You look marvelous Nadya 😀
xx Mira
http://www.glamdevils.com
Aww thanks, Mira 🙂 I am so glad you liked it!
As of sewing, it is not as scary as it sounds. Plus this top requires a very basic level, so I think even a kid can do it 🙂
This is just awesome!! You look great, Miss Nadya!!
Michelle – thank you so much my dear! :-***
Ian Woo – Thanks, Ian, it is very pleasant to hear from you! 🙂 Sam, my boyfriend, is the photographer. He is a “student” of mine, I am teaching him how to take photos. He is becoming very good at catching great moments!
A photo shoot is a collaborative process, I show how and where to take pictures, and he often interprets it on his own.
And the post processing is done by myself.
Alex Ryzh спасиииибо, Сашкин :-* На счет красной помады ты была абсолютно права! Она так меняет мой внешний вид, прям ваще :)))
прям ваще! 🙂
Ну, насчёт красной помады я тебе уже говорила – всегда только с ней и ходи теперь!!! В первой двойной фотке правая – просто супер!!! Правда у тебя там такой недобрый взгляд :)) И классная фотка, где написано “Wear it!”, тоже правая 🙂 (y)
Great look and awesome photos! (who shot these?) Love the one with your hand on the railing.
Getting more and more in to your writing style! It’s funny while presenting useful information and awesome photos!! 😀
Unfortunately i wouldn’t be able to wear a crop top no matter how much i’d wish for it. That sexy belly of mine is actually not that sexy after all. :))
Thanks, Andreea! I am happy you find it funny 🙂
love your comment! no worries, our bellies are sexy as long as our significant others think so 🙂
Amen to that! :)) Luckily we have them!