Frayed Hem Denim Cardigan DIY: Longest Fringe I Ever Made

As I showed you in my previous post, one of the Spring Summer 2015 trends is wearing frayed hem denim. So, in today’s DIY I will show you how I converted a regular outdated denim cardigan into a trendy one with a frayed hem.
I got inspired by these cute denim tops:
DIY Results
And that’s what I got: A simple look with a frayed twist 😉 The cardigan is a perfect basic item that can fit nearly any outfit. In summer I plan to keep it in the office to protected myself against a chilly air coming from the cold heartless office ACs.

I got the cardigan from a friend of mine. At first I was planning to bleach it like I did it a while ago with some other denim jacket. But since the bleached denim has already passed the popularity spike, I reconsidered it. Instead, I decided to keep it simple. And frayed.
It may seem like being a simple project, but in fact I spent almost 3 hours making the fringe. Yes, that’s right, 3 hours! In the end my fingers were blue with the dye coming off the cardigan, and my floor was covered with the thread bits. It took me a while to clean it up after, hehe. I measured the length of the fringed hem, and it turned out it was almost 4 m (12’6”) long! No wonder it took me 3 hours. Yep, that was the longest fringe I have ever made!
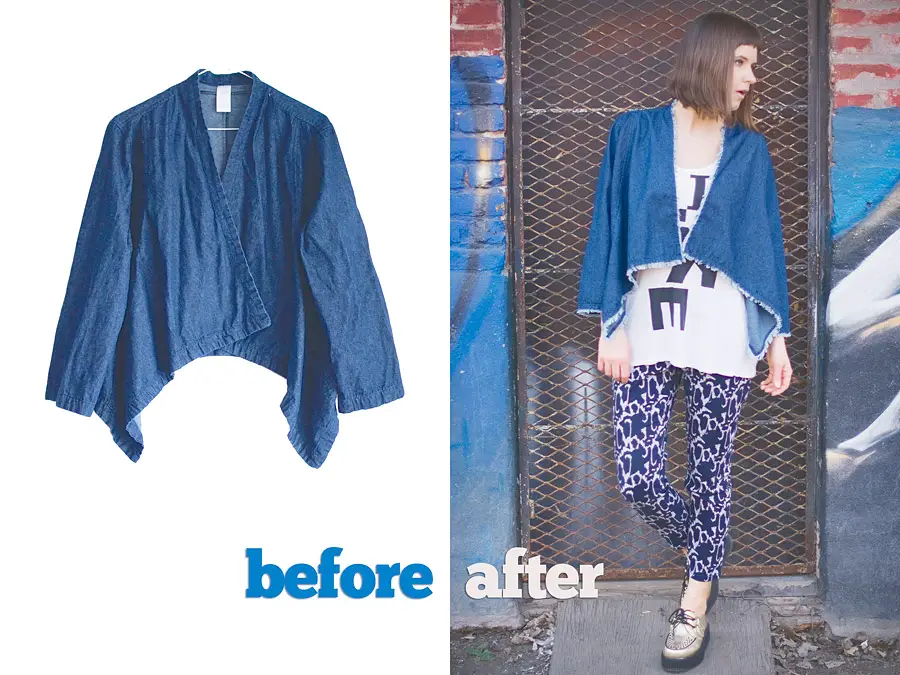
The sleeves are not too long and not too short, exactly how I like it. I always roll up long sleeves.

How To Get The Look
- Denim cardigan: upcycled second hand (similar)
- Singlet with a print I Like: H&M (similar)
- Geometric pattern trousers: second hand (similar, similar)
- Metallic gold creepers: T.U.K. Shoes

Supplied You Need For This DIY
- denim cardigan
- unpicker
- scissors
DIY Budget (materials):
- denim cardigan: $0 (a gift)
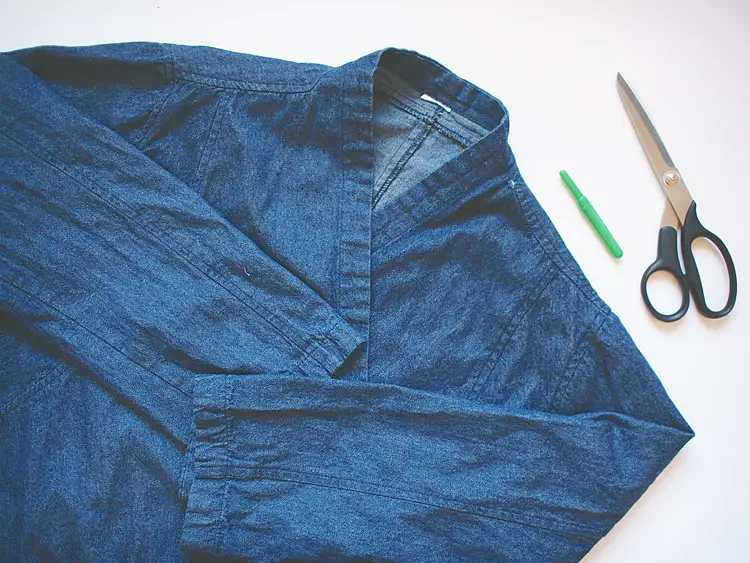
DIY Steps
The edges of the cardigan were done with a hem facing made of the same fabric that was used for the garment. It gave me an idea how to easily fray the edge while keeping it neat and structured. In short: Cut off the edge seams and make the fringe out of the seam allowance!
But let’s do it step by step.
Cut off the edge seams all over the cardigan including the sleeves.
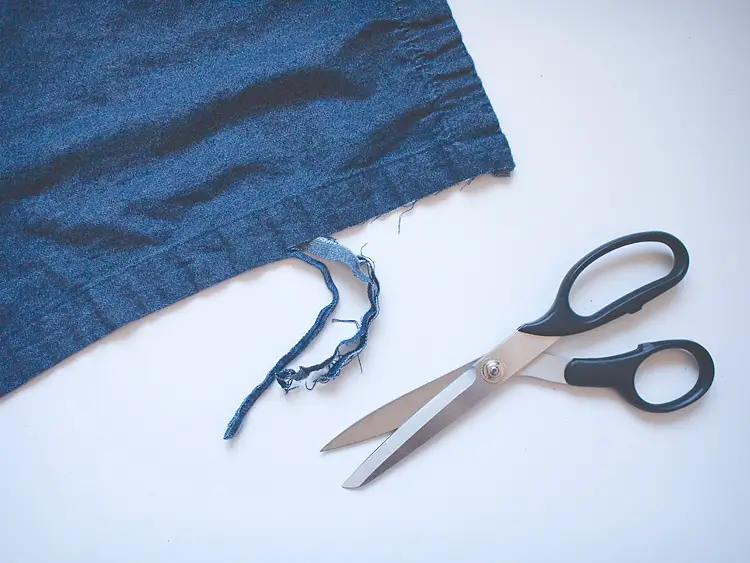
You will end up opening three seam allowances.
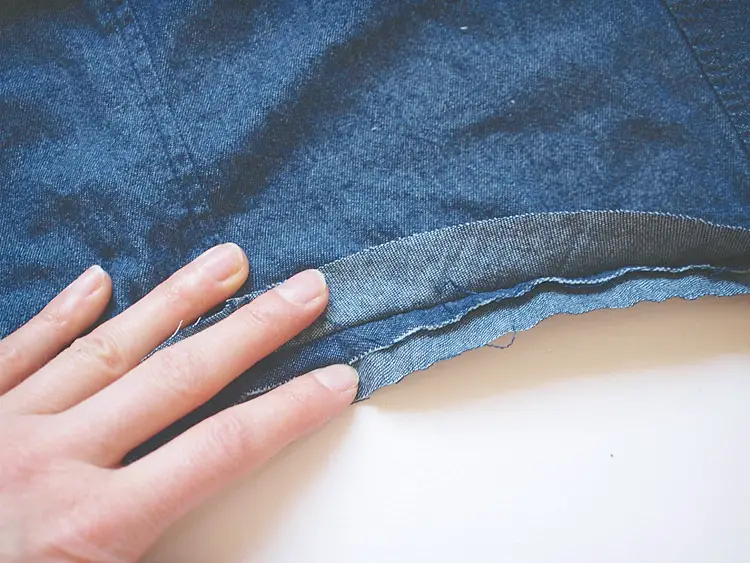
If you prefer to have a slightly frayed hem, you can leave it like this.
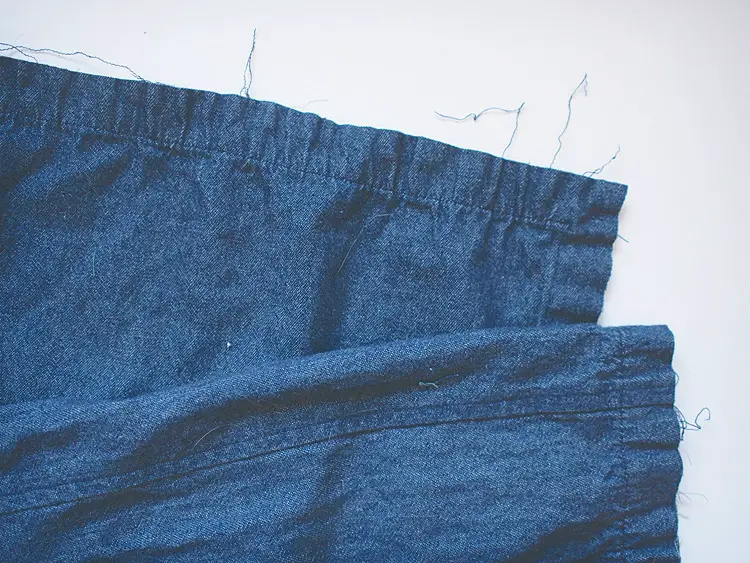
I wanted to get a proper fringe, so I kept cutting. I cut off the top allowance, and the hem facing showed off. As you see the reverse side of the fabric had a lighter color that the rest of the cardi, so it produced a nice contrasting fringe.
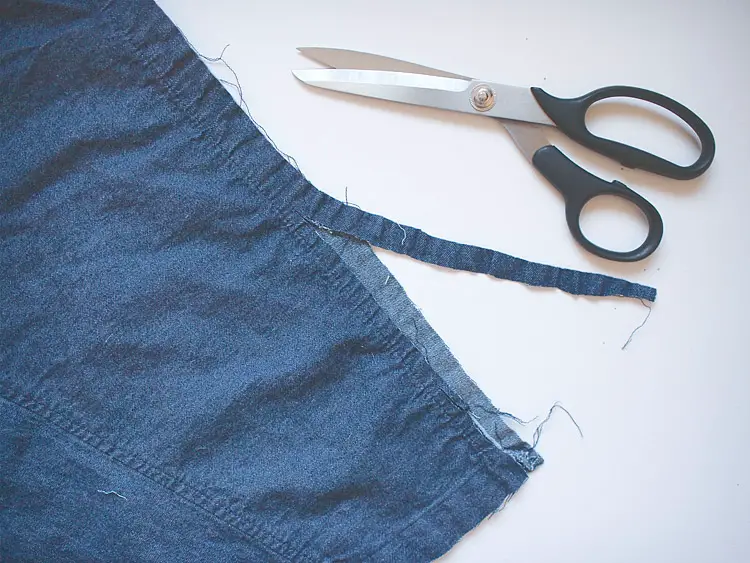
On the corners the hem facing is sewn…
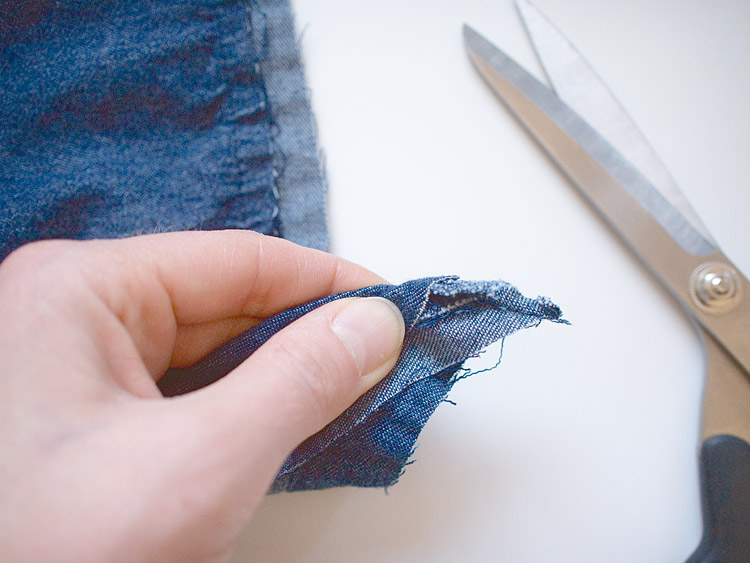
…so just cut off the seam. Similarly, cut off all other seams the hem facing has.
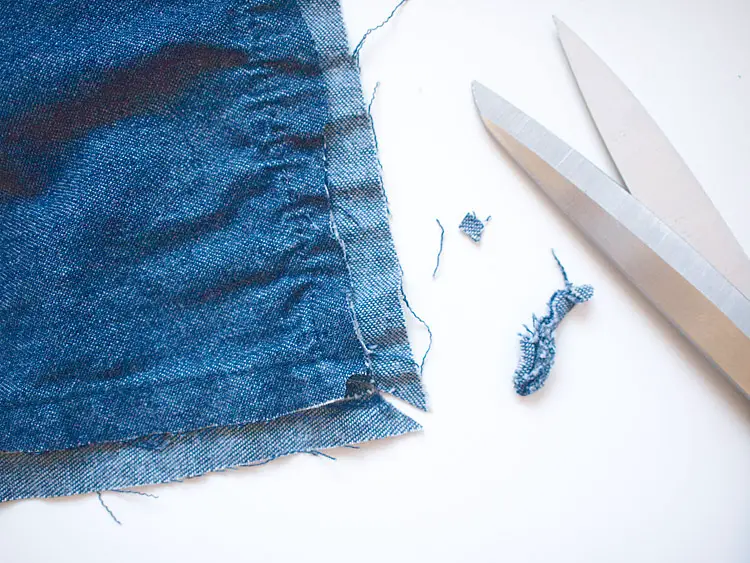
Now incise the hem facing perpendicularly to the seam. Do each cut one inch apart from each other. It will help to make the fringe faster; you will learn more in the next step.
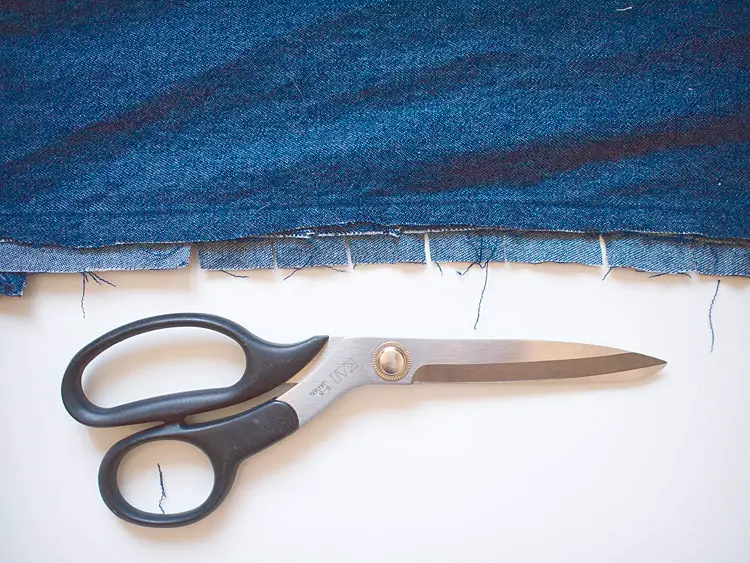
In this DIY the biggest difficulty was to make a fringe which is both long and wide. I have been always struggling with it. When a long fringe reaches a certain width, it becomes quite hard to keep making it wider (or longer!). The threads you are supposed to remove get stuck in the fringe because of the increased friction.
But this time I found a solution! I made short incisions thus dividing the allowance into short segments, which are very easy to fringe. Then I worked each segment one by one.
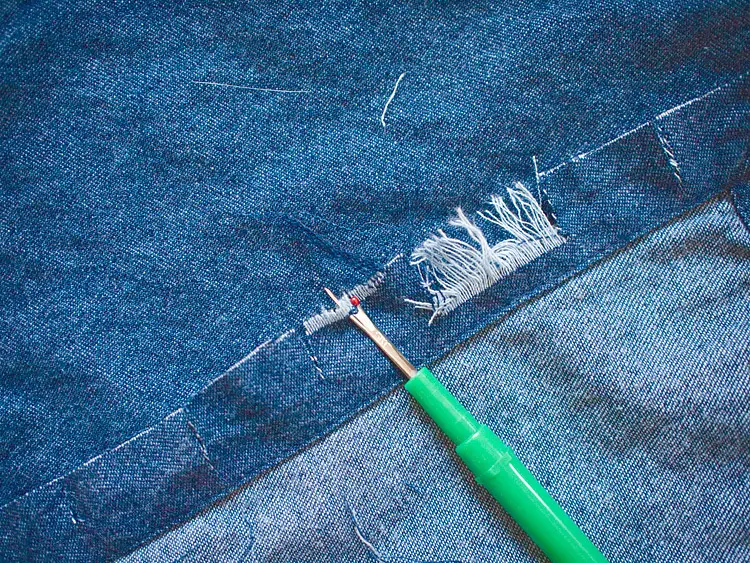
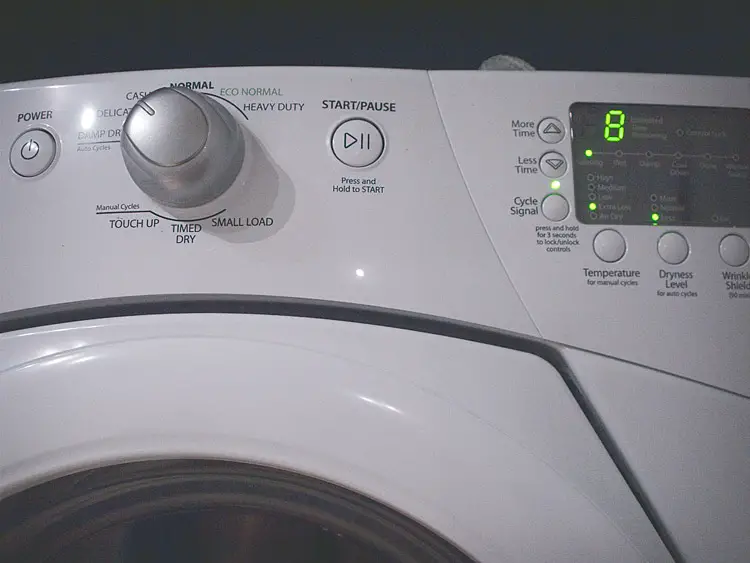
After you are done with fringing, make the cardigan wet and put it in the dryer on a delicate mode. Drying gives the fringe a felted look.
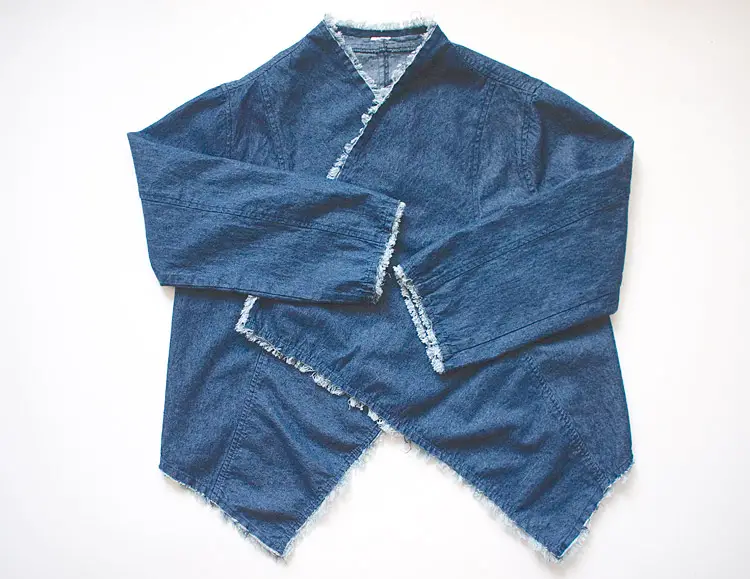
And here comes the fringed hem denim cardigan!

Happy DIY-ing!

Disclaimer: Yup, this post may contain affiliate links! If you buy something from me, I get some margarita money (not enough to buy a pair of shoes). Read more here.





Such a pleasure to surf on your blog! I have to try this DIY.:-)
xoxo, LisaLou
http://www.urbanfroufrou.com
You sooooo should! 😉
Thanks for stopping by Lisa
xxx
Great job!
Awesome denim jacket!
http://beautyfollower.blogspot.gr
thanks so much for stopping by! happy you liked my post 🙂
This looks great! Very creative and nice blog you have! keep up the good work!
X
awww, Lara, thanks a lot! It soooo pleasant to hear such nice words 🙂 They keep me going!
Lets just stop for a second a reflect on how amazing you look on that pic!
awww, merci my dear! :-****
Like it so much!!!
I am so glad you liked it!!! I love this cardi, thanks for giving it to me! As you see, I decided not to bleach it 🙂
I love how you just keep it very minimal and not frayed it too much but just enough! Love the DIY as usual 🙂 HUGS
http://lauest.com
Wow, such a beautful diy, I love it! You made an amazing work 🙂
xx Elisa
http://www.francinesplacediy.blogspot.com
Elisa, thanks for stopping by and leaving such a nice comment! Very appreciated 🙂