Bleached Studded Denim Jacket DIY: Make the Most Out of Your Favorite Jacket

The spring has arrived, and it means that my bleaching season has started! For the first project of the season I have chosen a tie dye bleaching technique presented in the Free People blog last summer. The technique is based on an old Japanese dyeing method called “itajime shibori.”
Shibori is a Japanese term for methods of dyeing cloth by binding, stitching, folding, twisting, and compressing. In Japan, the earliest known example of cloth dyed with the shibori technique dates back to the 8th century where indigo was the main dye used. Itajime shibori is a shape-resist technique. The cloth is folded like an accordion and sandwiched between two pieces of wood or any flat shaped object, which are held in place with string or rubber bands. The shapes prevent the dye from penetrating the fabric they cover and give an endless variety of patterns depending on the fold, binding object and placement of rubber bands (by Honestly… WTF).
Bleach Tie Dye DIY Results
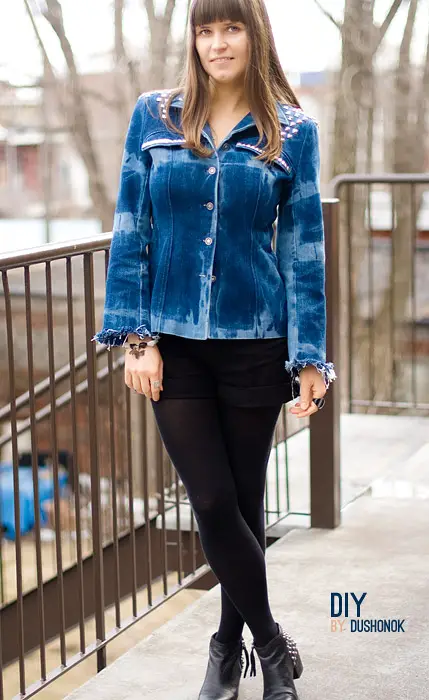
Let’s see what I got. Here is the picture of the upcycled jacket.
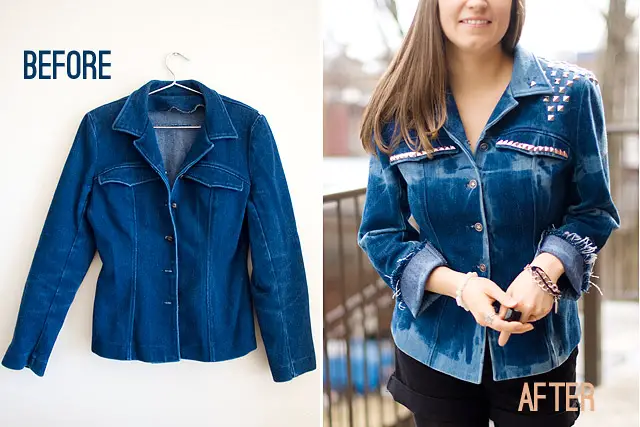
And here’s the before / after picture. Not bad, mmm? 😉 So, let’s dive in into the DIY steps!
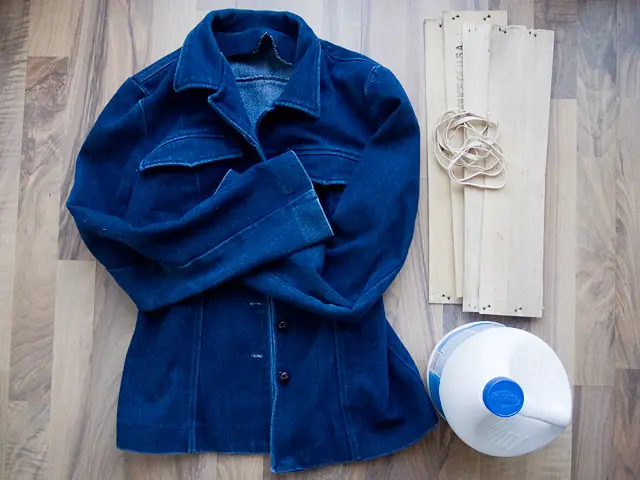
Supplies You Need For This DIY
- denim jacket (I took a second hand denim jacket I bought for $10 I found at a local friperie – a French word for a second hand store)
- a few wooden planks
- rubber bands
- a bottle of bleach
DIY Steps
The jacket was too thick to be folded as an accordion, so I used my own fold.
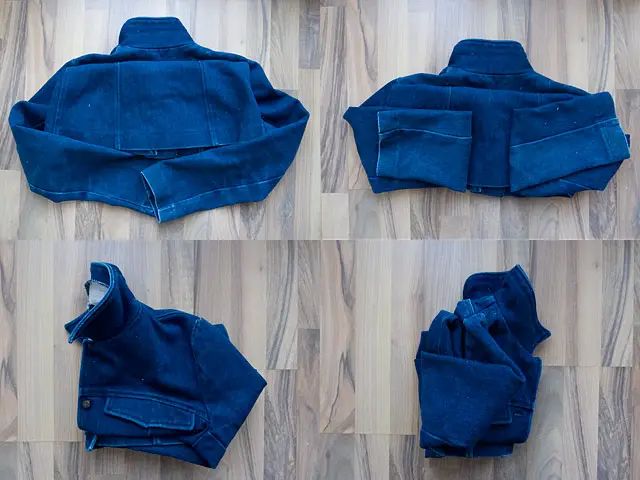
Then I put it between the planks.
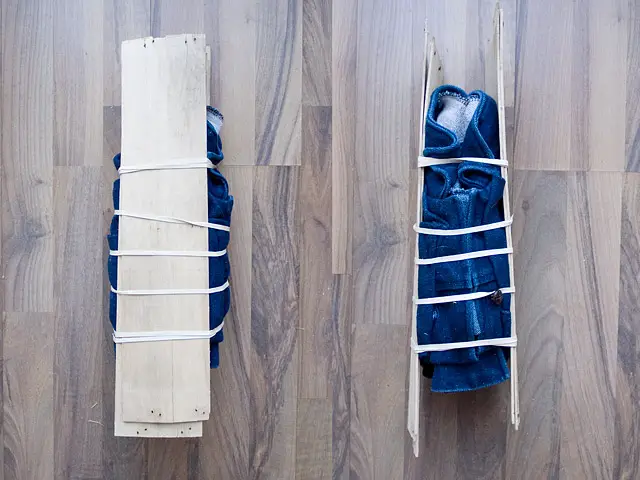
Now we are ready to bleach! I put the folded jacket into bleach and keep it there 20 min on each side.
Bleaching time and the speed depends on the thickness of the garment, and the finer fabric will take less time to bleach.
When the fabric turns white, it is time to take it out.
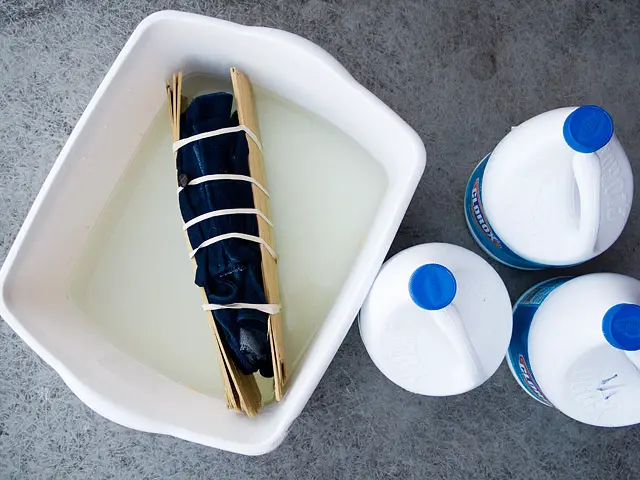
Then I rinsed it and hang outside for the night.
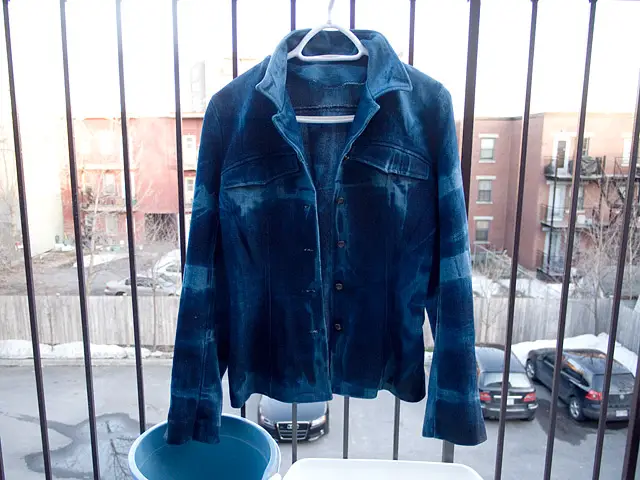
The bleaching part is done, and now it was time to add to the jacket some sparkles!
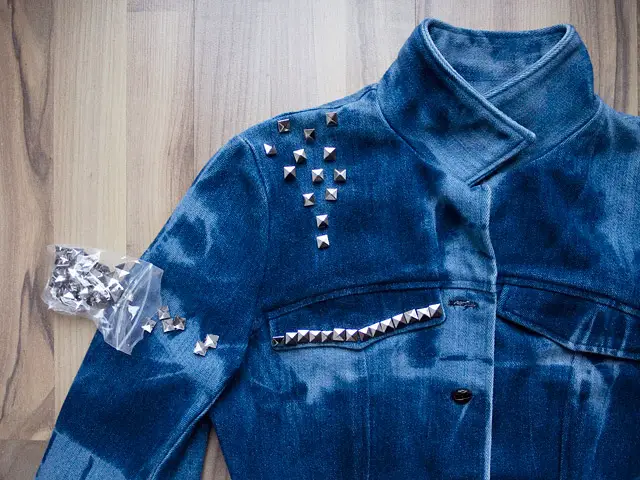
Studding is a fun and easy way to bring your clothes to the trendy edge. The only thing that prevented me from doing it before was that I did not have a stud gun; for some reason, I was not able to find it even online.
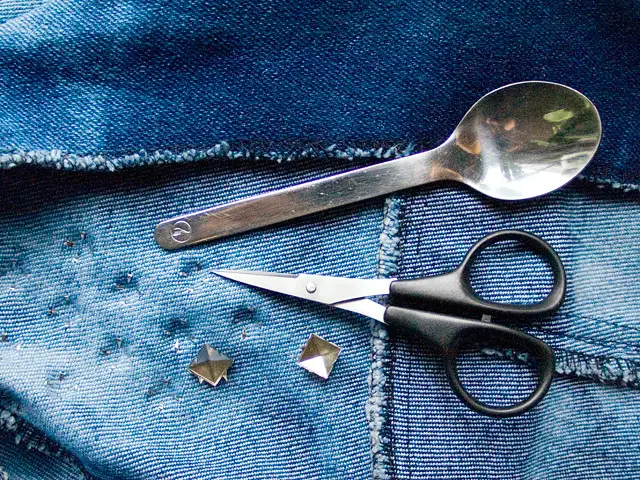
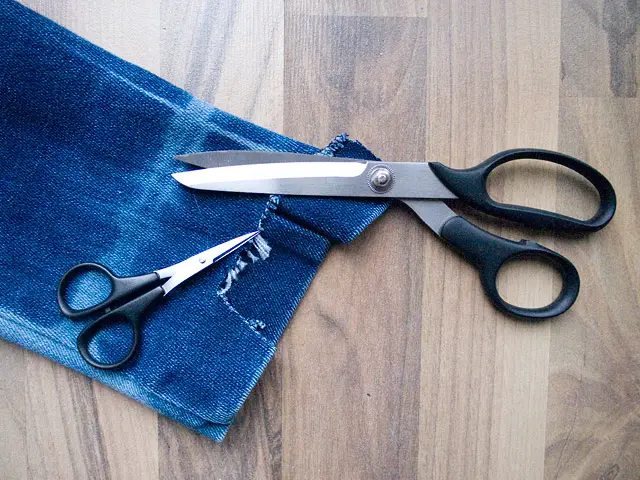
But it turned out I did not need it: A spoon became a good replacement! I used its other end to bend the stud claws. Sharp ended scissors helped to fix studding mistakes.
After finishing studding I shortened the sleeves and made fringes on the edges.
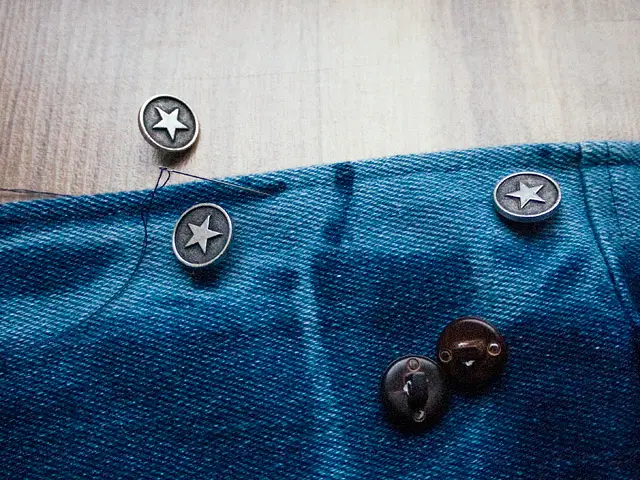
I also changed the buttons. The old boring brown ones were gone, hey you, the new star cuties! 🙂
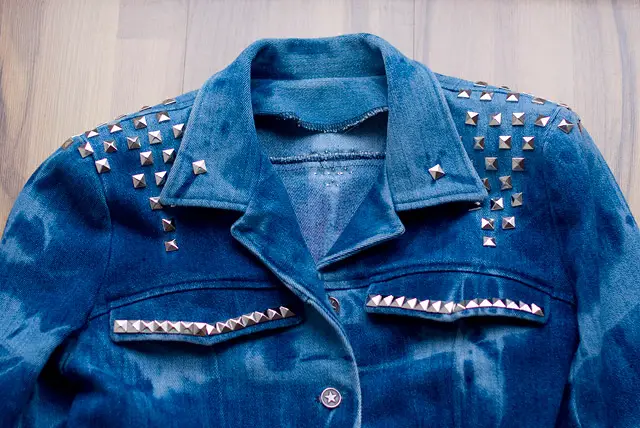
I used 100 studs to decorate this jacket.
I studded the front part of the shoulders by following the bleached spots. The spots are not symmetric, and this adds some particular interest to the jacket. Also, I added one stud on each side of the collar where the rubber bands left a x-shaped mark and some studs to the back
The back
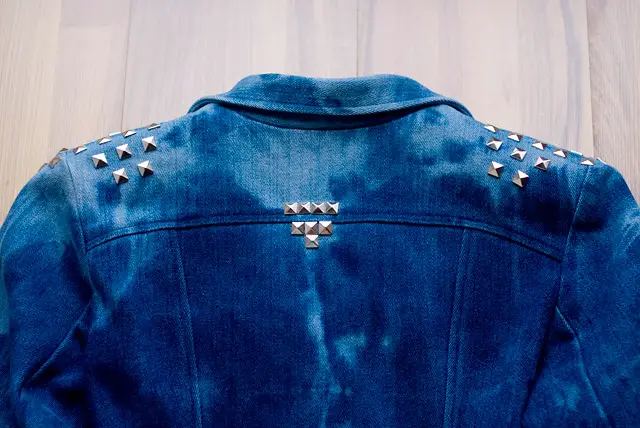
I wanted to stud the sleeves and more of the back, but I ran out of studs 🙂
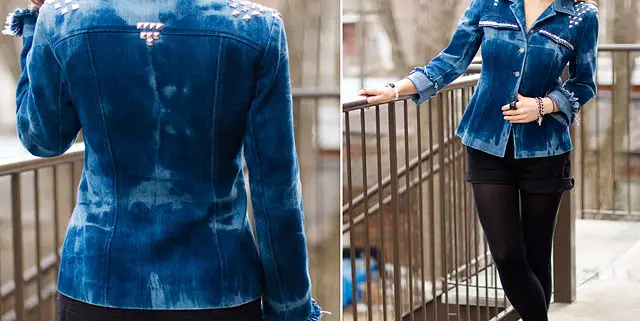
Here comes the upcycled jacket.

Happy spring everybody!!!!
Disclaimer: Yup, this post may contain affiliate links! If you buy something from me, I get some margarita money (not enough to buy a pair of shoes). Read more here.







awesome 😀
thank you! 🙂 🙂 🙂
So smart love it!
and easy to do! 🙂 glad you liked it 🙂
great tutorial! 🙂
—
http://mariaosk.wordpress.com/
Thanks, glad you liked it 🙂