Spring DIY: How to convert a vintage dress into a two-piece set

The spring has arrived, and it means it is the time to do fun DIYs! For example, how about to convert a vintage dress into a two-piece set?
I love vintage dresses. They are pretty and one-of-a-kind, but often they require some work to do. Often the cut is not very flattering, and it is simply outdated. In many cases I shorten my vintage dresses, and sometimes I do tailoring… This time I converted a dress into a trendy two-piece set. The original idea is not mine; I saw in on the A Pair And A Spare website. Geneva, the girl behind the website, is one of the most famous and inspirational DIY bloggers, and I often drop by her blog to feed off my creativity. In her MIDI SKIRT & TOP SET post she converted a vintage dress into a matching set. When I saw it I thought – such a great idea! I had a pretty vintage dress, a handmade one, and it was hard to wear it because of is weird cut. Thanks to this DIY the dress got a second life.
Two-piece sets were very popular last season, and it seems the trend will spill out into the upcoming season. We can see matching outfits popping up in the street fashion as well as spring fashion collections. Though I do have a love-hate relationship with matching sets – too matching for my taste! – but I must admit the sets are cute and convenient to wear. If you have a dress you do not know what to do with or you want to make yourself a cute two-piece ensemble, this post is for you.
So, who is up for a bit of cutting and stitching? 😉
Contents
Supplies You Need For DIY
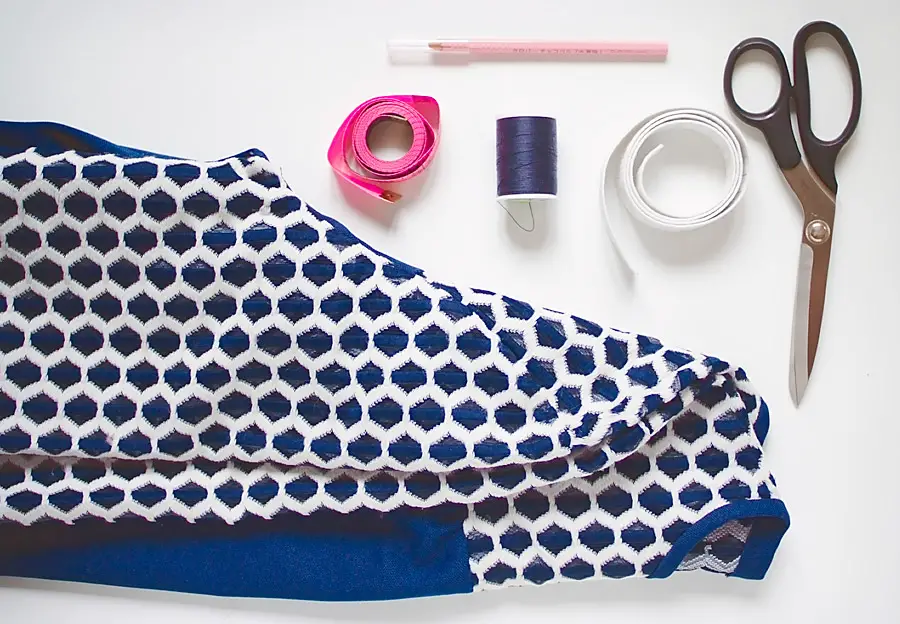
- a dress – mine is handmade vintage
- needle & thread in matching color
- elastic band, the length equals to your waist grip
- scissors
- measuring tape
- fabric marker
- pins (not shown)
- sewing machine (not shown)
DIY Instructions
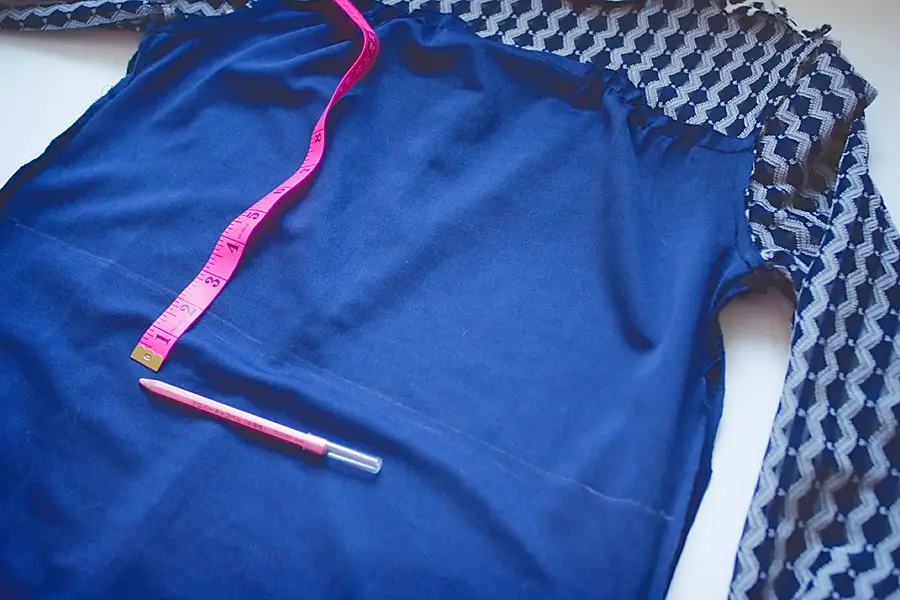
First draw the line where the edge of the top will be. I did it at the waistline. Then mark 2 inches (5 cm) down for the seam allowance and draw another line.
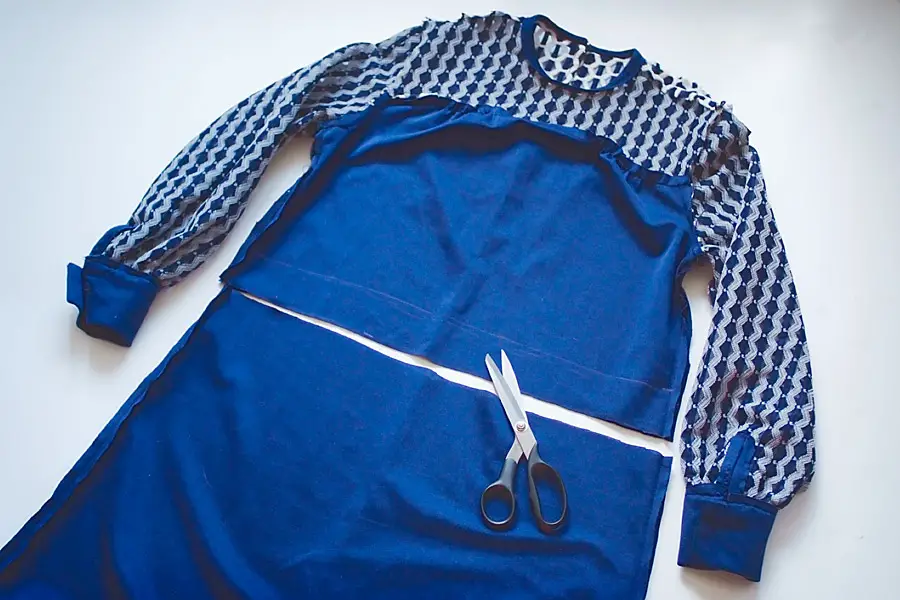
Cut the dress along the seam allowance line. The top will become, well, the top, and the bottom will become the skirt.
Take the top part. Fold the seam allowance up and pin it down. Keep the edge on the front 1 inch (2.5 cm) lower than on the back.

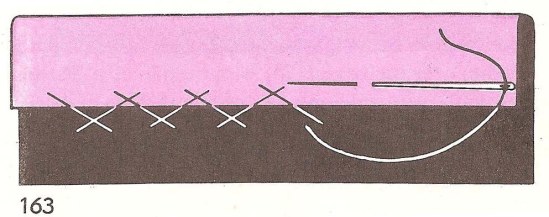
Hem the edge by hand using a hidden stitch. I use the herringbone stitch. You can also use your sewing machine.
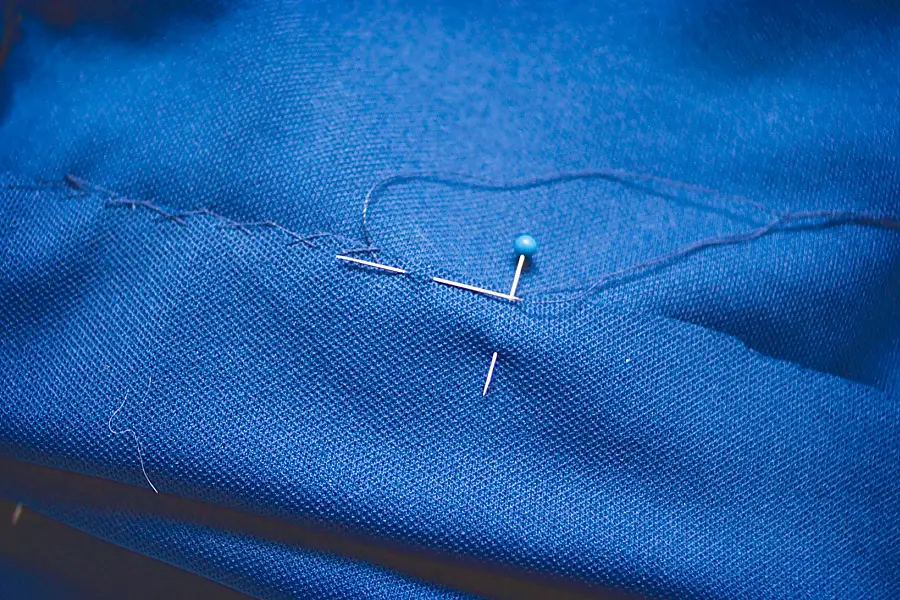
The top is finished.
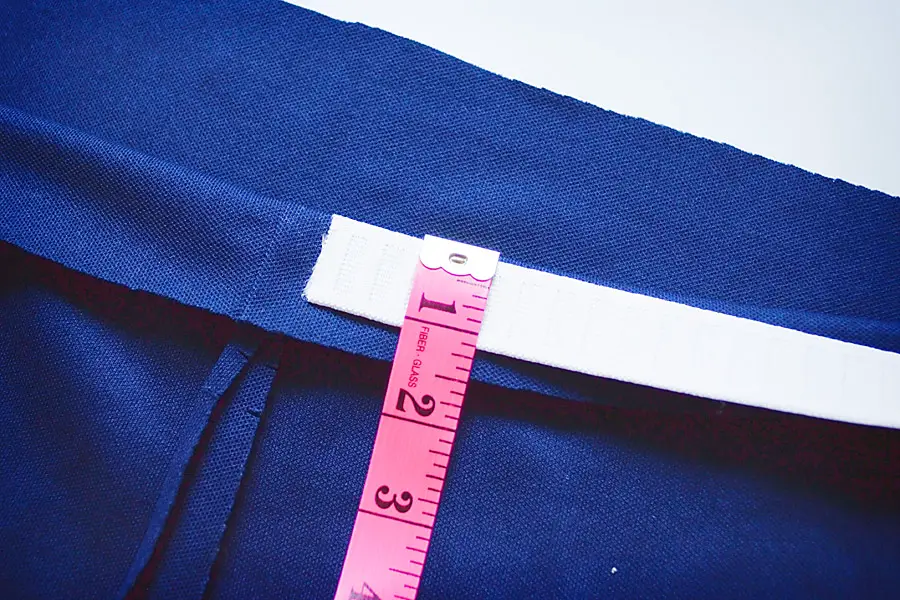
Now take the bottom part and place the elastic along its top edge. Depending on how thick the elastic is, fold over enough fabric. Leave a half an inch (1 cm) for the seam allowance. Then sew it down to create a waistband. Do not forget to leave an opening to put the elastic in.
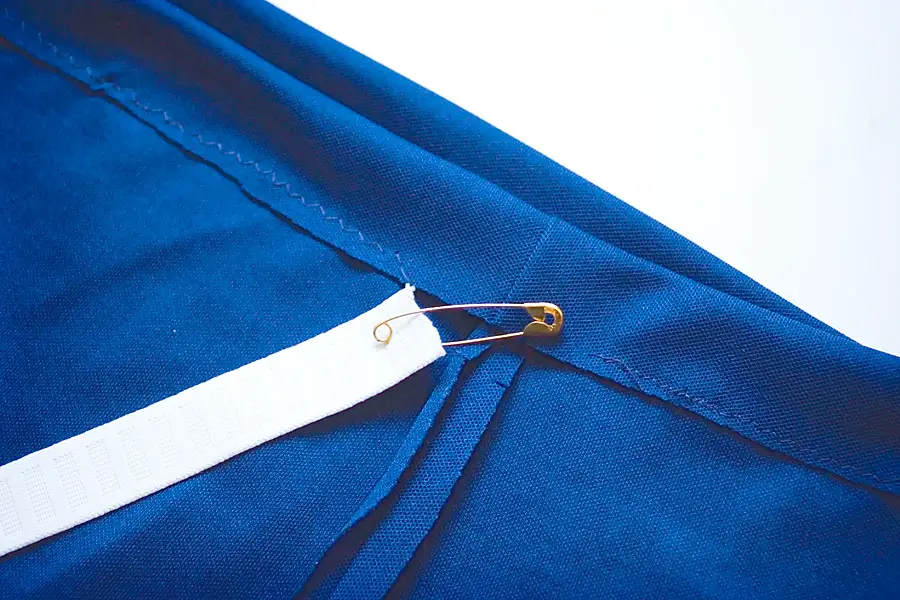
Now take the elastic and attach a safety pin to its end. The pin will help you to thread your elastic through the waistband.
Push the pin with your elastic all the way through the loop until it comes through the other side.
Now keep the elastic ends together and try your skirt on. Make sure the elastic is not too loose – it may stretch out depending on how heavy the fabric is. Adjust the ends if needed and then stitch them together either by hand or machine.
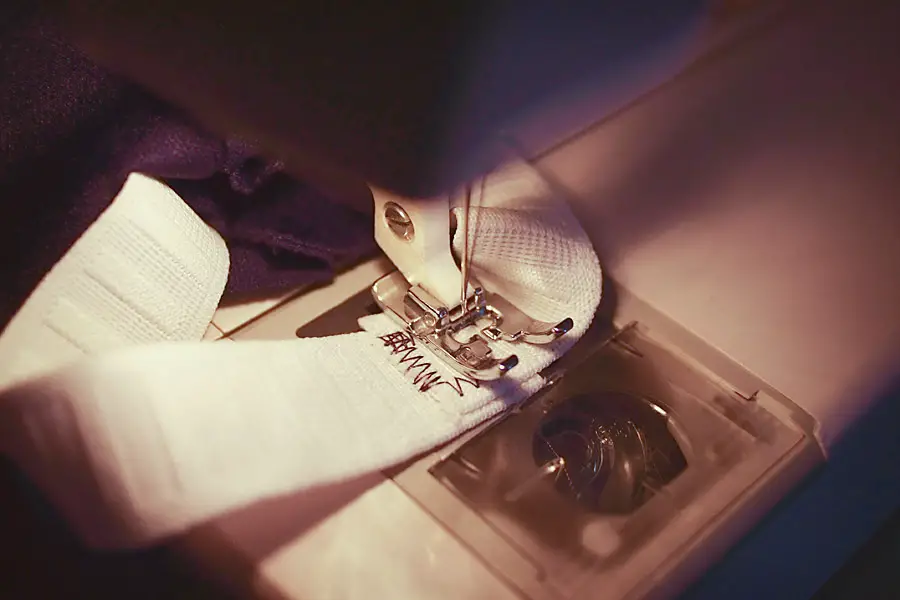
And you are done!
DIY Result
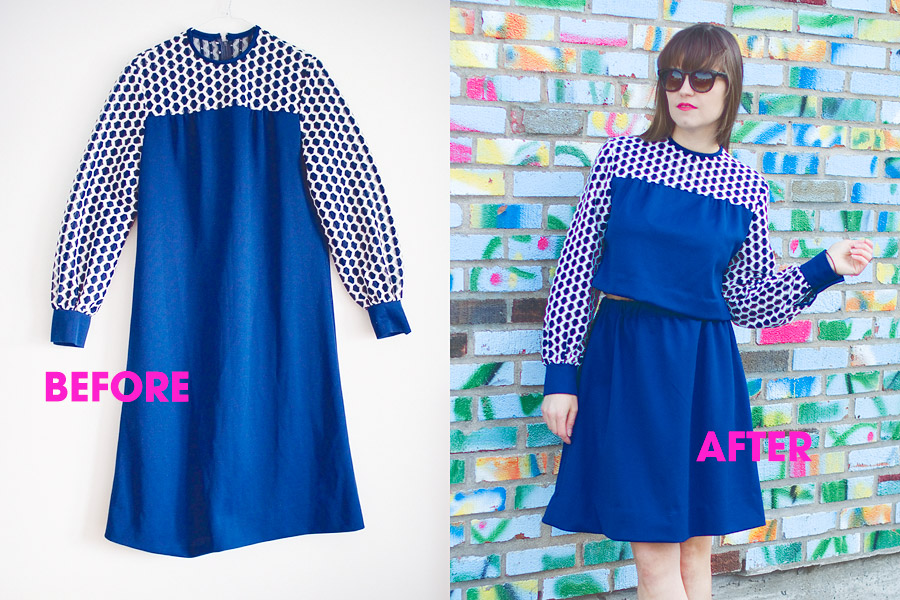
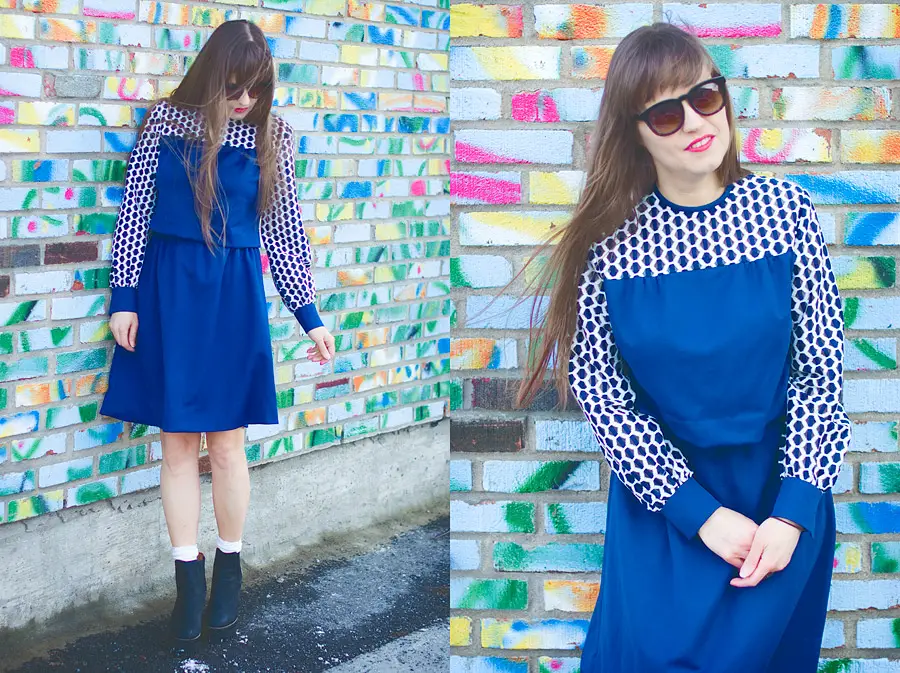
Here my two-piece set made of a vintage dress. Dare to show yours? 😉

Before / After
Improvements To Make
I published this DIY on Reddit, The Front Page of The Internet, on subreddit TodayIWore, and one of fellow redditors gave me an amazing feedback:
…to have a cleaner elastic waist, maybe with a thicker band? And also to taper the width of the top just a tiny bit, so it looks less cropped sweatshirty…
Awesome advice, heydelinquent! Will follow it next time when I make another two-piece set!
How To Style the DIY Two-Piece Set
Styling this DIY two-piece set was easy-peasy. No hustling, no thinking hard required.
For the details I went with neutral white and black. White (the socks) was there to support the white pattern of the top. Black… well, my wedged booties by Jeffrey Campbell are black, and they were the only suitable footwear option here. Why? Because the booties balanced out the whole silhouette thanks to the heels and in addition they made my legs look super long (love it!). So, the black came out of necessity. To support the color of the booties I chose dark sunnies. I love their rectangular shape, because it flatters the shape of my face and makes it less round by emphasizing my cheekbones.
And that was it! Super-duper easy-peasy. Oh yes, and of course a bright reddish-pinkish lipstick to add some color.
Fur Jacket In Spring? Oh yes!
The day of the photoshoot was very cold with chilling wind and temperature dangling somewhere around 0C (32F). Not that kind of weather you expect from spring. So in order to avoid turning into a pretty icicle (stylish but alas frozen and dead), I had to wear my winter fur moto jacket. Initially I did not plan to keep it on during the shooting, but as I said the mother-nature decided otherwise. Sam took a few shots of me in the jacket, and in the end I liked how the jacket had fit the look. Like it was born to be worn with the set 🙂
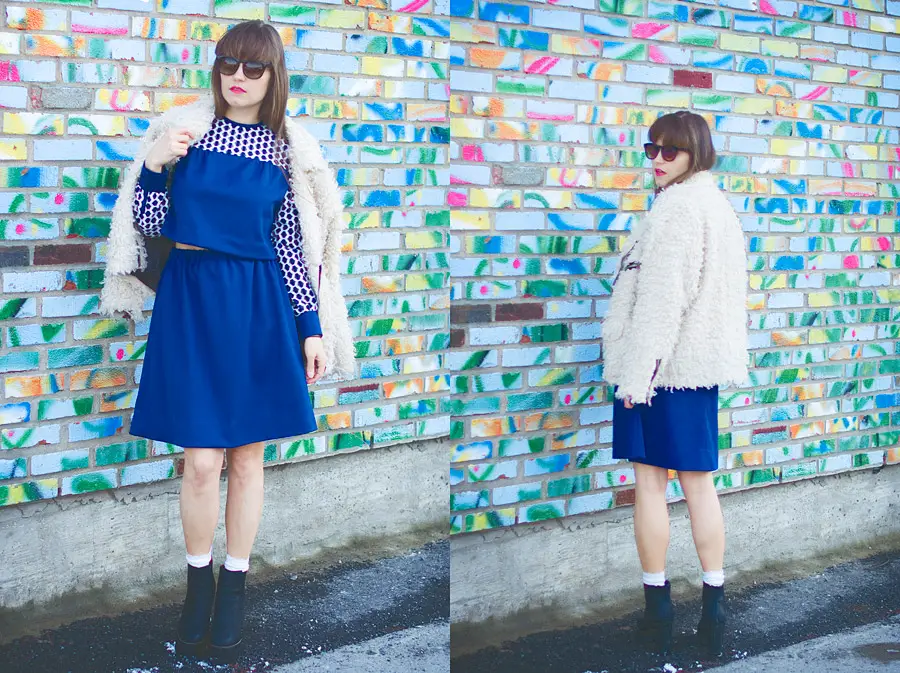
The jacket is such an amazing basic garment that it fits any style and any look of mine. One of my best recent purchases.
Get The Look
- Ivory faux fur Moto Coat: Urban Outfitters (a working link for my Quebec friends)
- Ankle booties: Jeffrey Campbell (similar, a cheaper alternative)
- Sunglasses: Forever 21 (similar)
- White socks: no name
Disclaimer: Yup, this post may contain affiliate links! If you buy something from me, I get some margarita money (not enough to buy a pair of shoes). Read more here.

 by
by 
This is such an amazing idea and came out so beautiful! You are one talented lady XO
Aww, you are very kind 🙂 Thanks for the nice words, I am glad you liked my DIY 🙂
So cute. Love the color too!
Koko, thanks for the comment! Happy you liked it 🙂
OMG Nadya, your blog has inspired me to go back to make some fashion DIY too!! You have some cool Ideas going on here!
PS: this royal blue look lovely on you! HUGS
http://lauest.com
Fernanyi, thanks for your great comment! You are such a skilled DIY-er, I am sure you will do amazing projects 🙂
xoxoxo
Oh what a great remake of this vintage dress improved and so lovely ♥
Nephtyis, thanks for stopping by! Soo glad you liked!
I am not super skilled at sewing despite many courses I have taken, so this is the top level of my skills 🙂
Many thanks! And the best thing is, that this DIY is obviously easy enough that even I must be able to do it – and I have to admit I’m the world worst sewer! I like the result, it fits you so well <3
xx from Germany/Bavaria, Rena
International Giveaway: Zatchels Bag as Thank-You for the Supporter of my Hobby
http://www.dressedwithsoul.com
Rena, thanks for stopping by! I am so glad you liked it 🙂 You should definitely try it out!